Interior Design: Best Tips to Decorate Your Living Room
Interior design is all about layering and mixing things you love—colors, patterns, furniture, and decor pieces. As one of the most multifunctional spaces in your home, the living room should be designed cohesively to draw you in. Our best design tips for decorating your living room can help make that happen.
Interior design is all about layering and mixing things you love—colors, patterns, furniture, and decor pieces—in a cohesive way and if done well, it will draw you into the space. As one of the most multifunctional spaces in your home (a spot for friends and family to gather, a place to relax, etc.), the living room should be designed to draw you in. Our best design tips for decorating your living room can help make that happen!
When you’re finished reading these interior design tips, don’t forget to check out our Best Tips to Decorate Your Bathroom and 7 Best Tips to Decorate Your Bedroom to pull your whole house together.
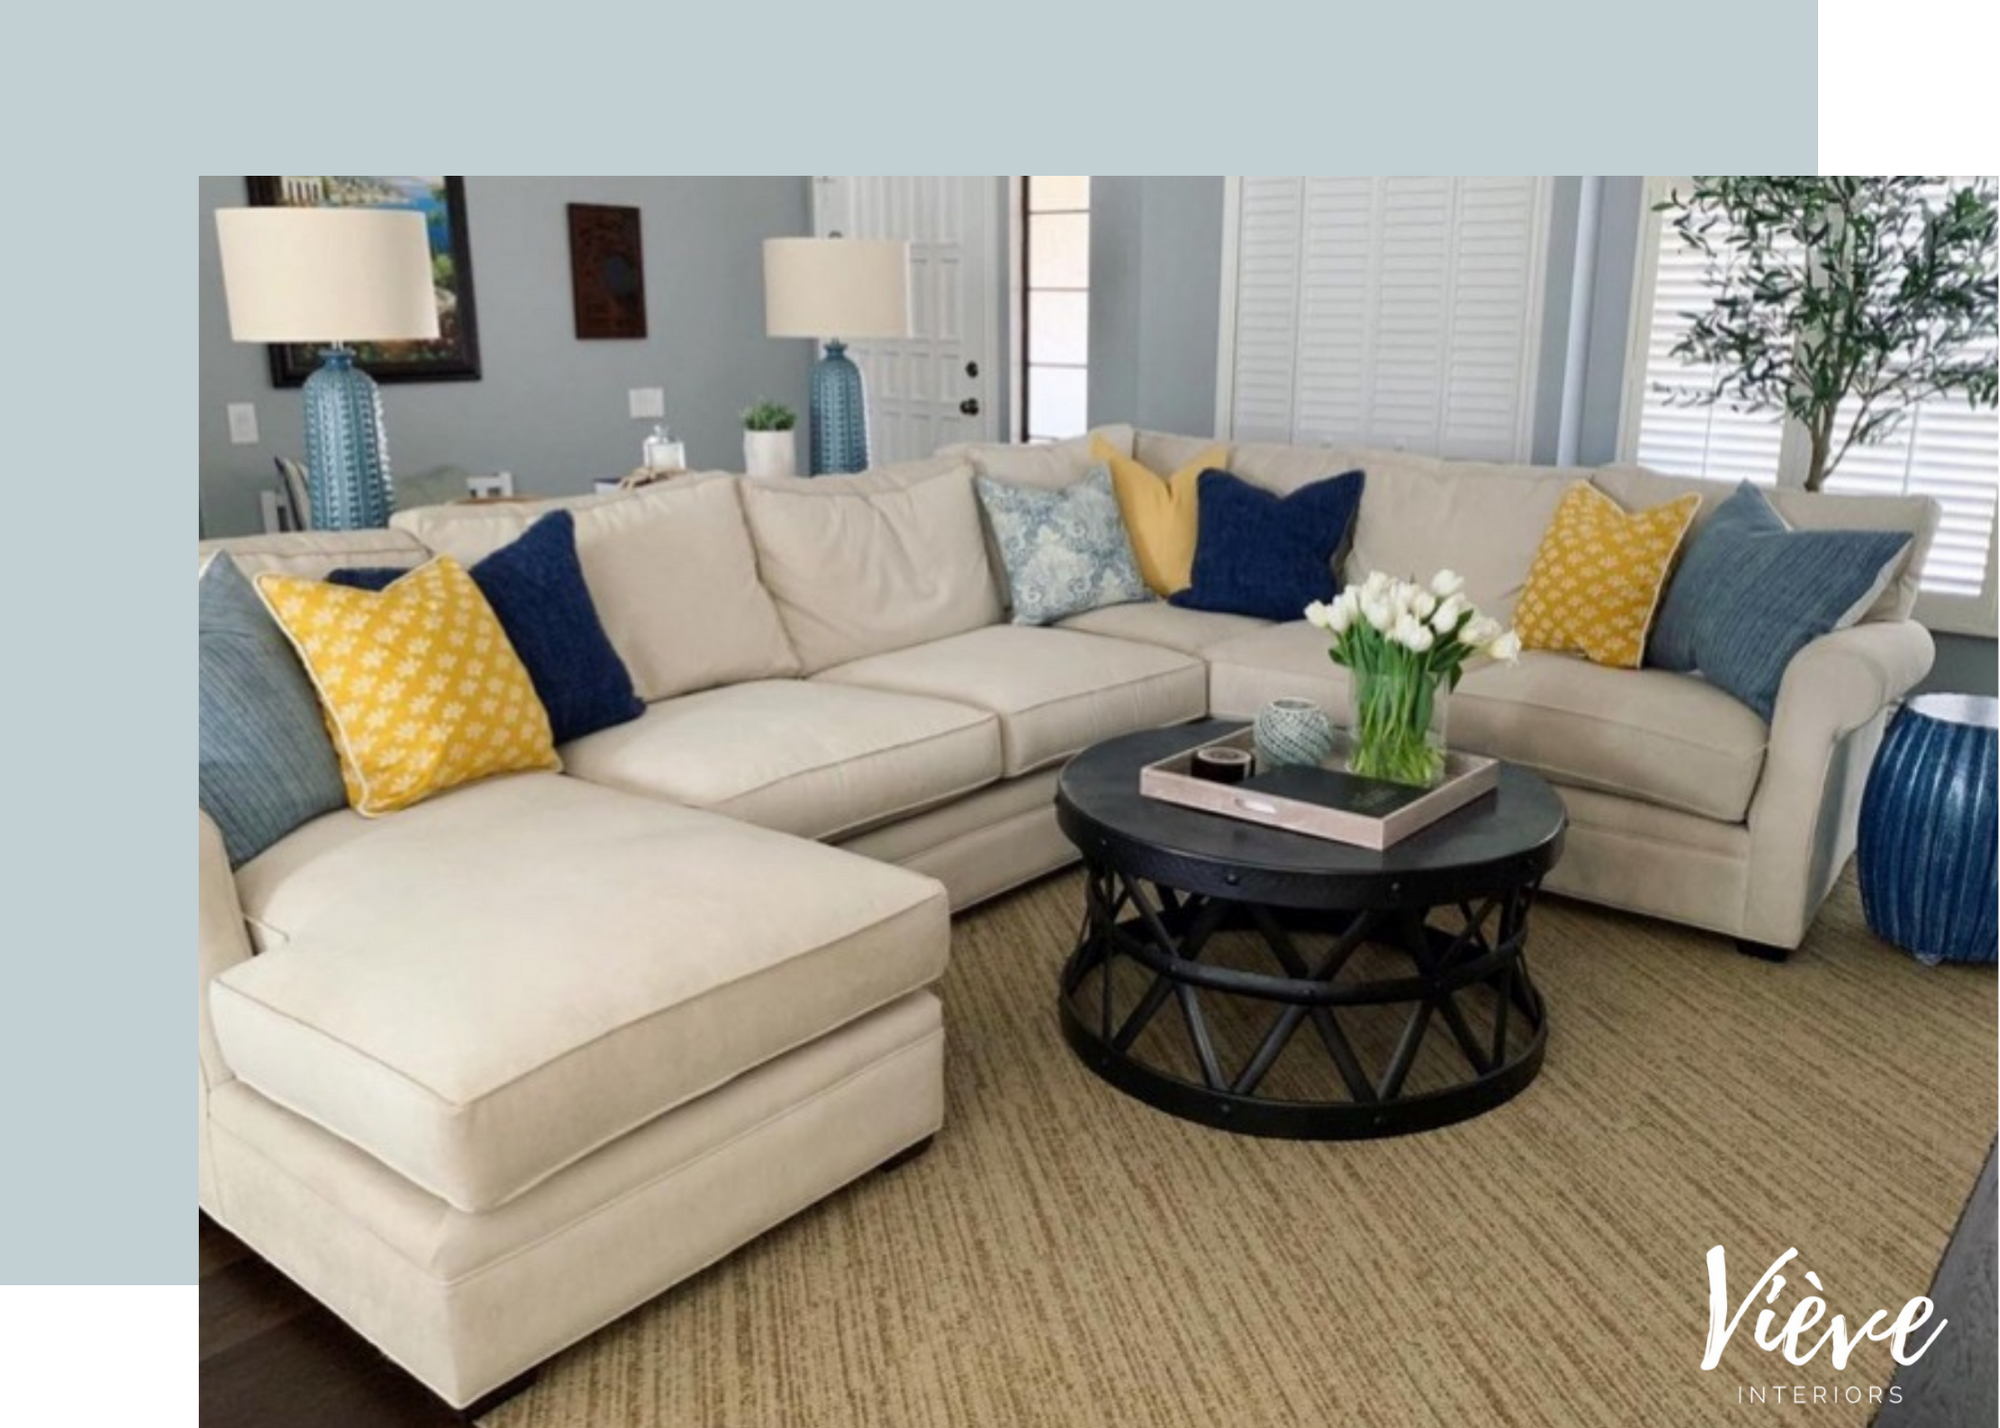
Be mindful of the use of space.
Before you get started, think about what you’d like to use your living room for—Entertaining? Lounging? Define its functionality. Then you can start to think about what type of furniture you need to make that happen.
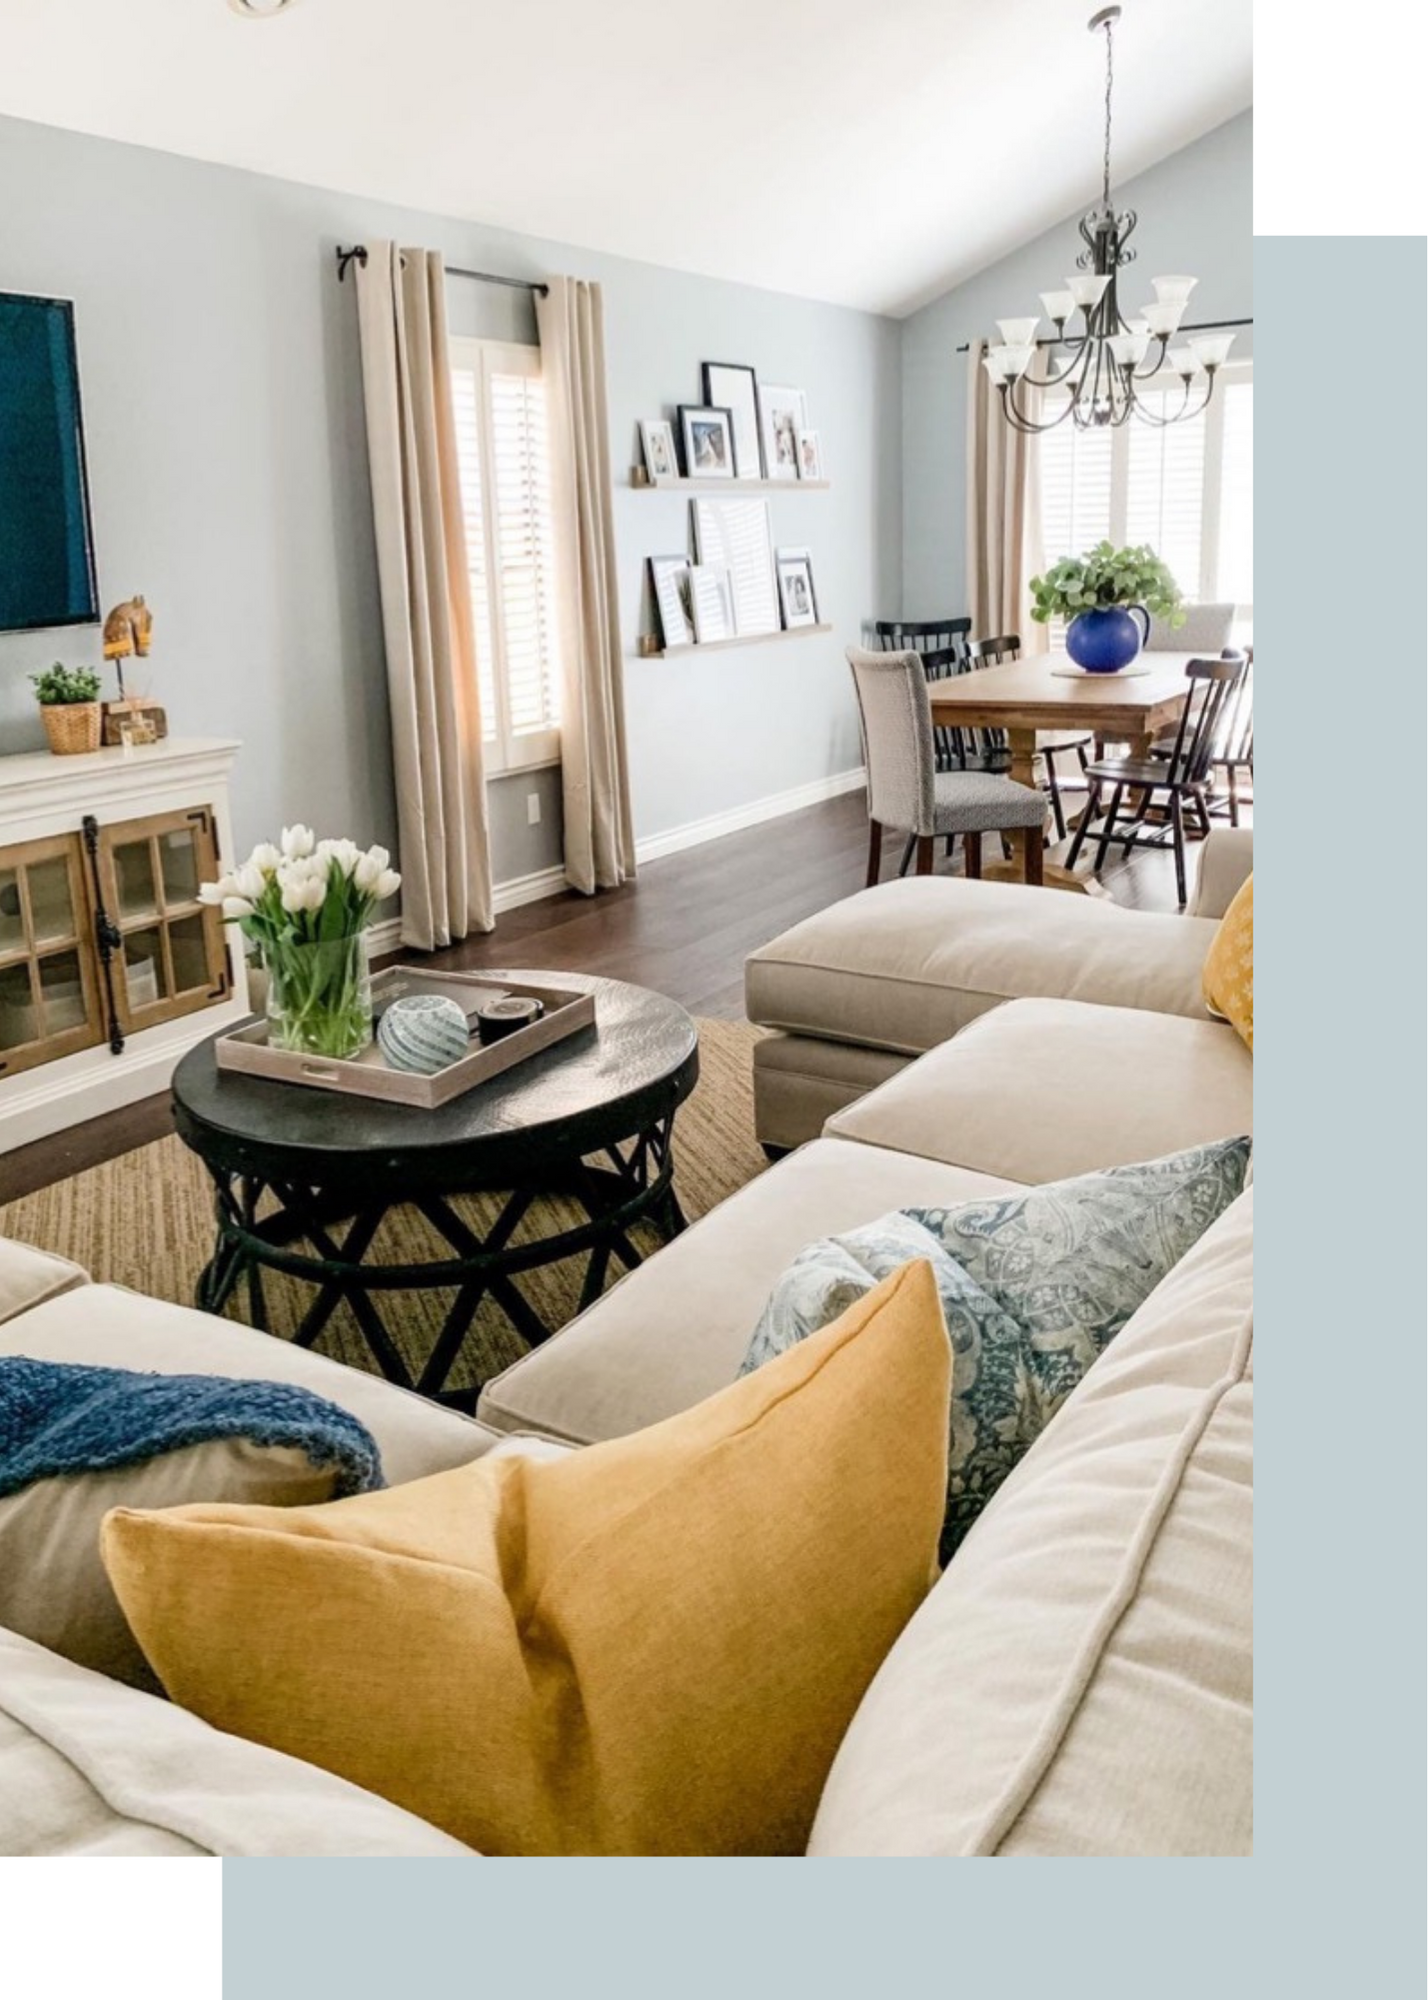
In the picture above, we needed to create a place for the whole family to hang out, so a large sectional sofa was the perfect choice. But with a three-piece chaise sectional like this, there was very little space left for a coffee table. We paired the sofa with a round coffee table, so the family is not bumping into corners as they walk around it. We also took note of the furry family member and opted for carpet tiles that can be easily replaced if the dog ruins any of them instead of replacing a large area rug.
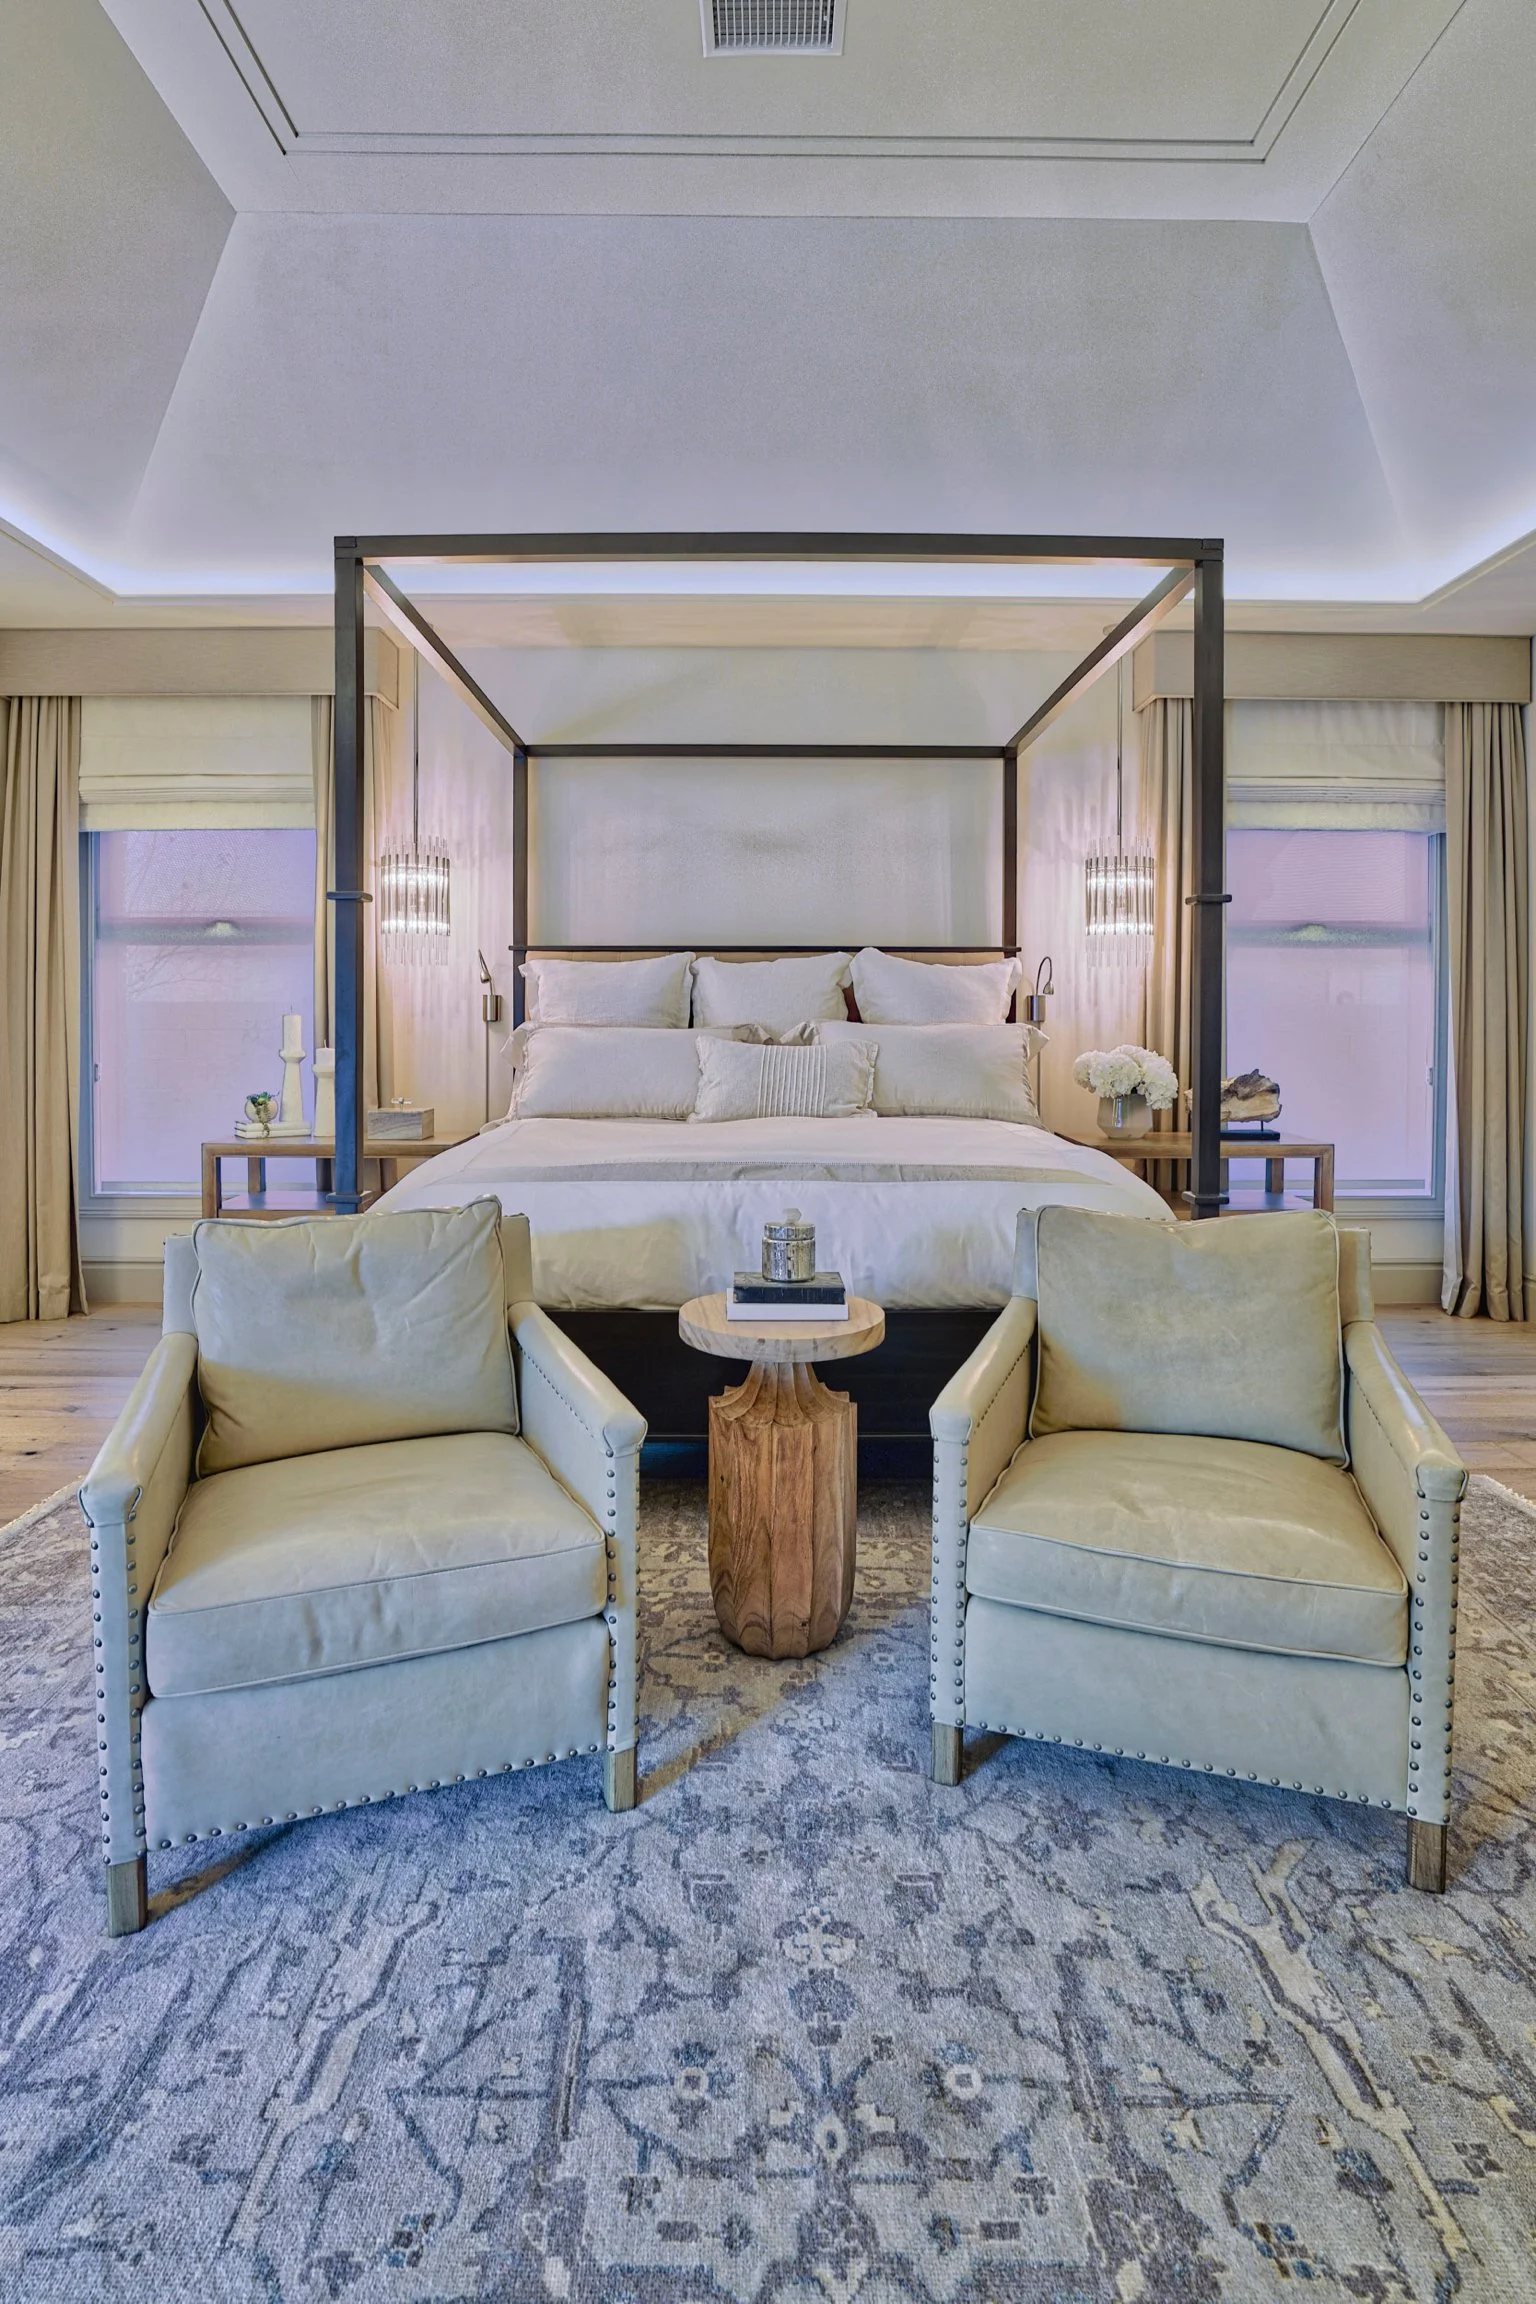
Decorate for comfort.
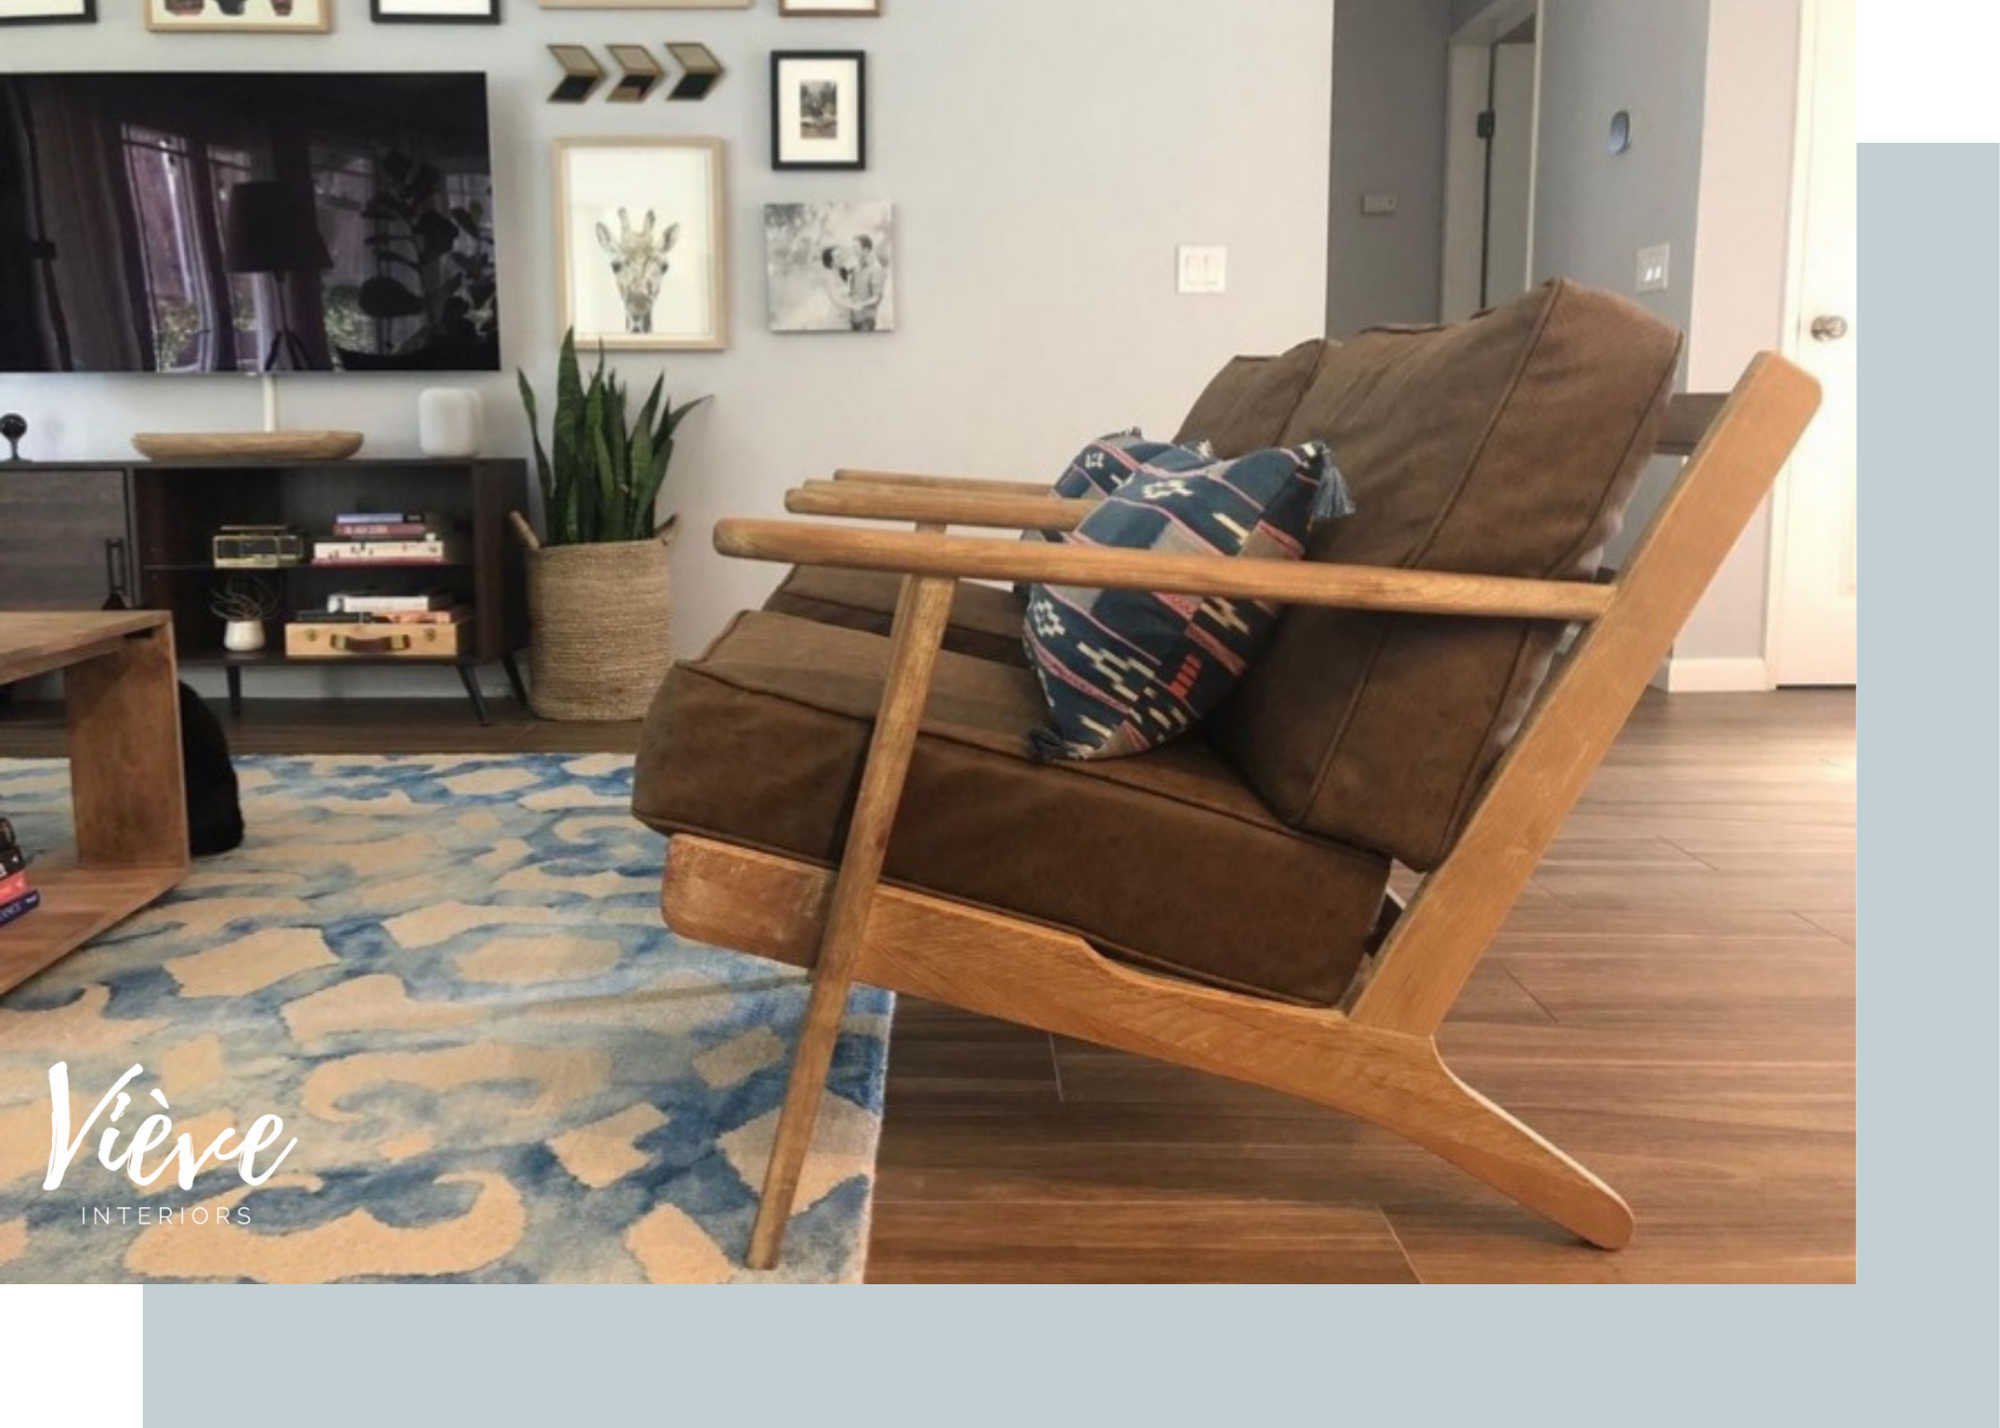
Our next interior design tip for decorating your living room is this: decorate in a way that feels comfortable to you! At the end of the day, you want to come home to a space that feels good to you, not just what is popular or trendy. The colors and the design style you choose set the mood for your living room, and the furniture you pick determines your physical level of comfort. For this living room, we intentionally picked chairs that not only look great and set a nice casual vibe, but that also feel wonderful to sink into at the end of the day.

Design around the fireplace.
Brace yourself, we have some surprising news: the living room furniture does not always have to point toward a TV... You might find that your living room can be all the more relaxing without one. For the living room space shown above, we made the fireplace instead of the TV our focal point. We hung beautiful artwork above it and incorporated an amazing ottoman coffee table (found at a consignment store) to pull out the darker blues in the artwork and bring in just the right amount of pattern into an otherwise simple space. We also added some classy barrel swivel chairs to give our clients a cozy conversational place to hang out around the fireplace that could also be turned to watch TV when desired.
Get creative with your storage spaces.
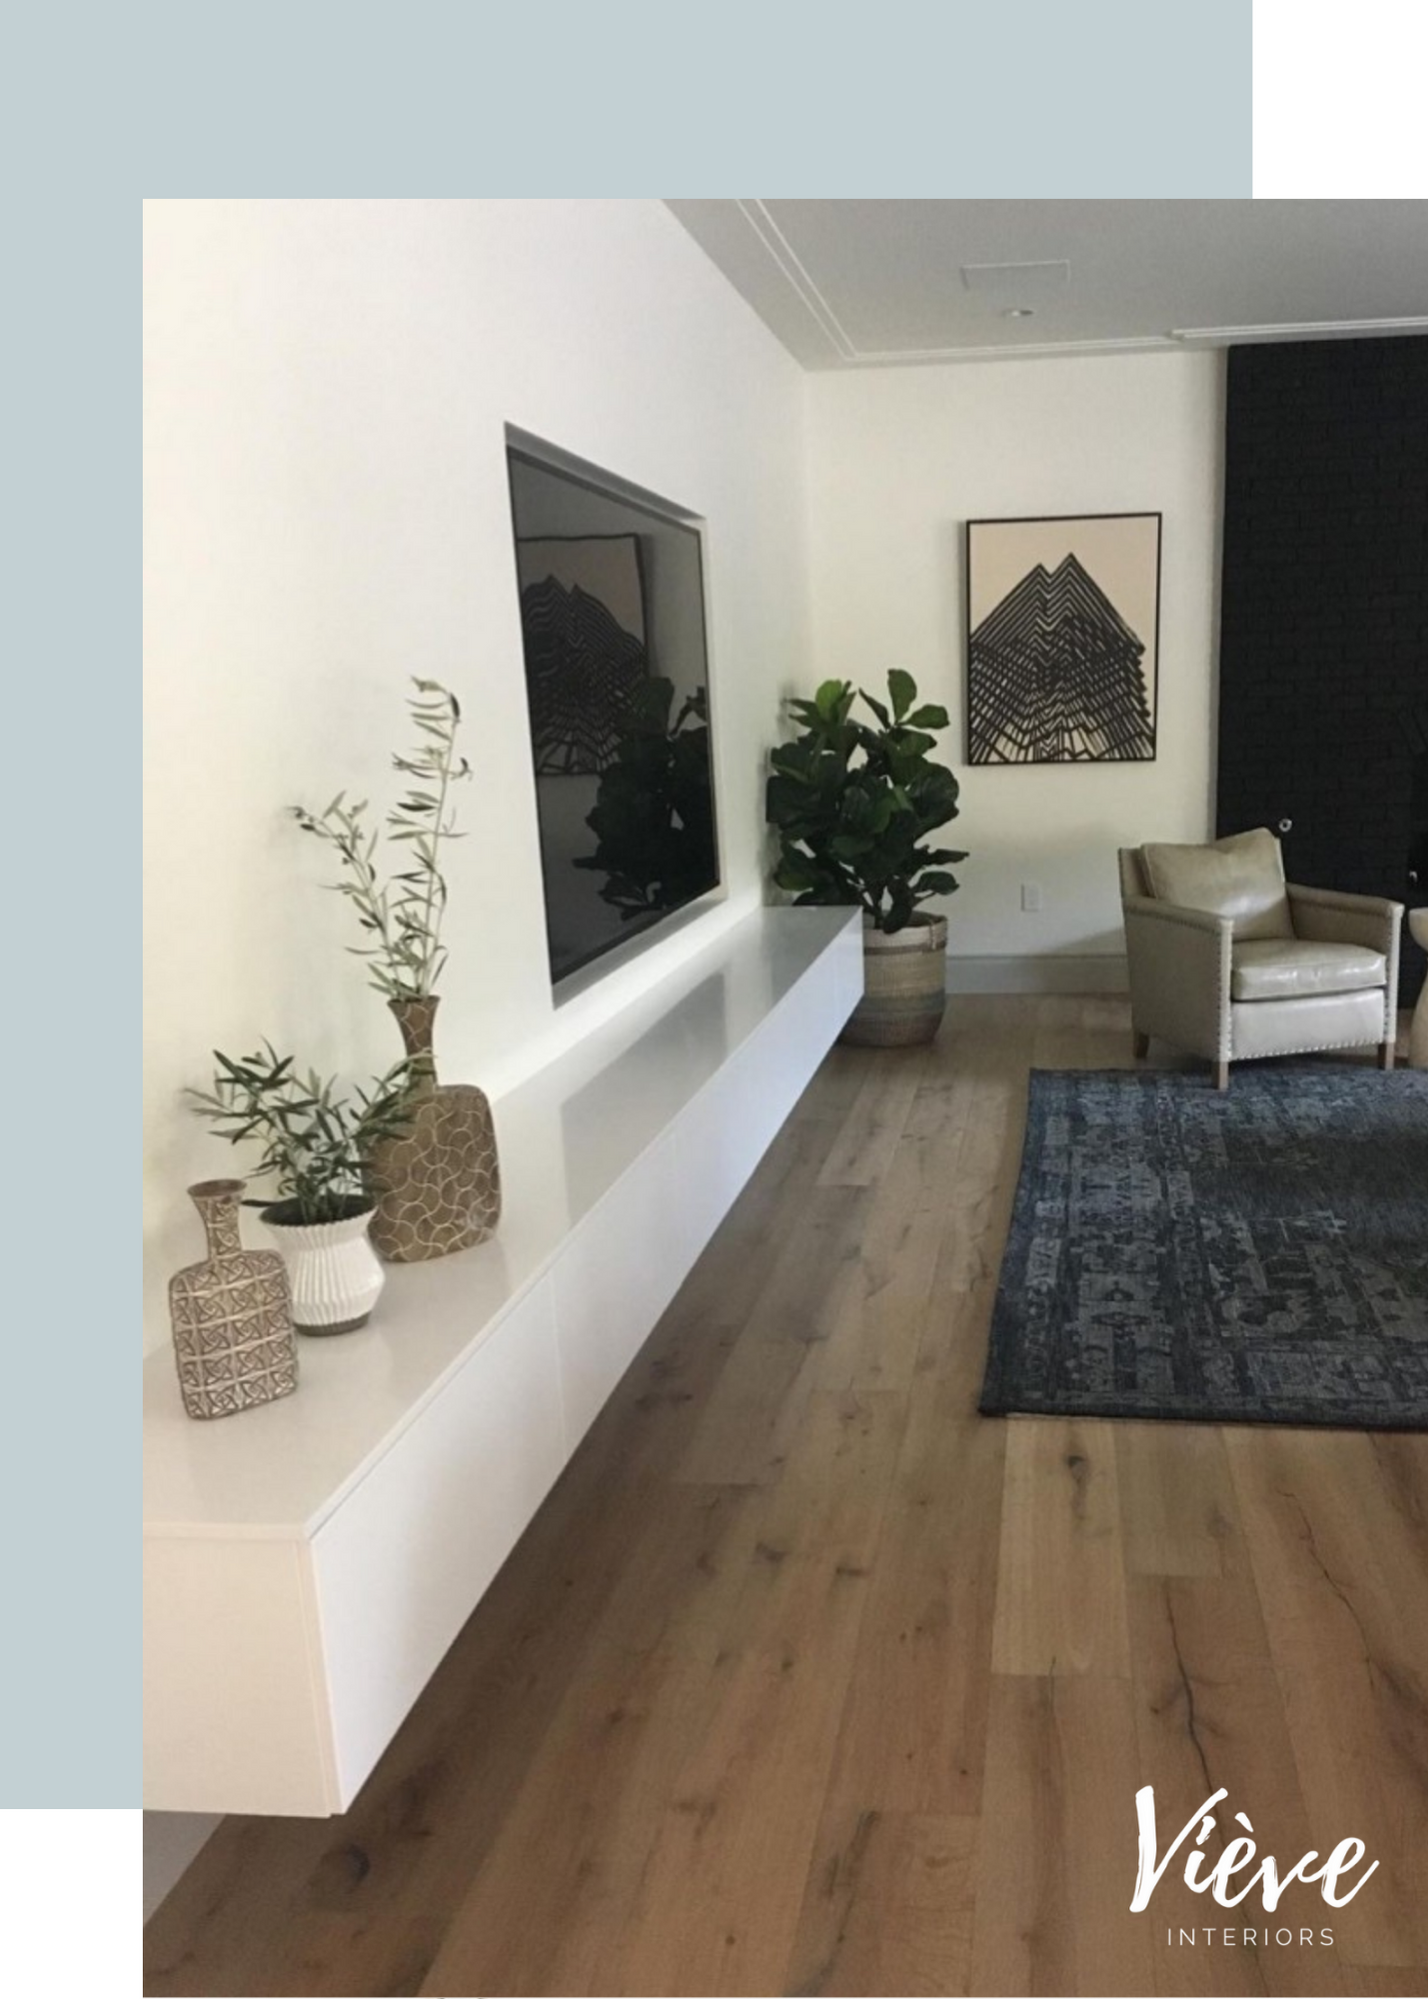
One way to make your home look more spacious and sophisticated is to get creative with your storage spaces. For example, we absolutely love the way this custom floating cabinet turned out in our client’s living room! We felt it was the perfect modern touch to contrast with more traditional trim throughout the home. Here are a few other furniture pieces to consider selecting for additional storage space:
Multi-use bench with drawers or a seat that opens up
A storage ottoman for extra blankets or pillows
A coffee table with storage below for reading material or otherwise
An end table with a drawer for remotes or pens, etc.
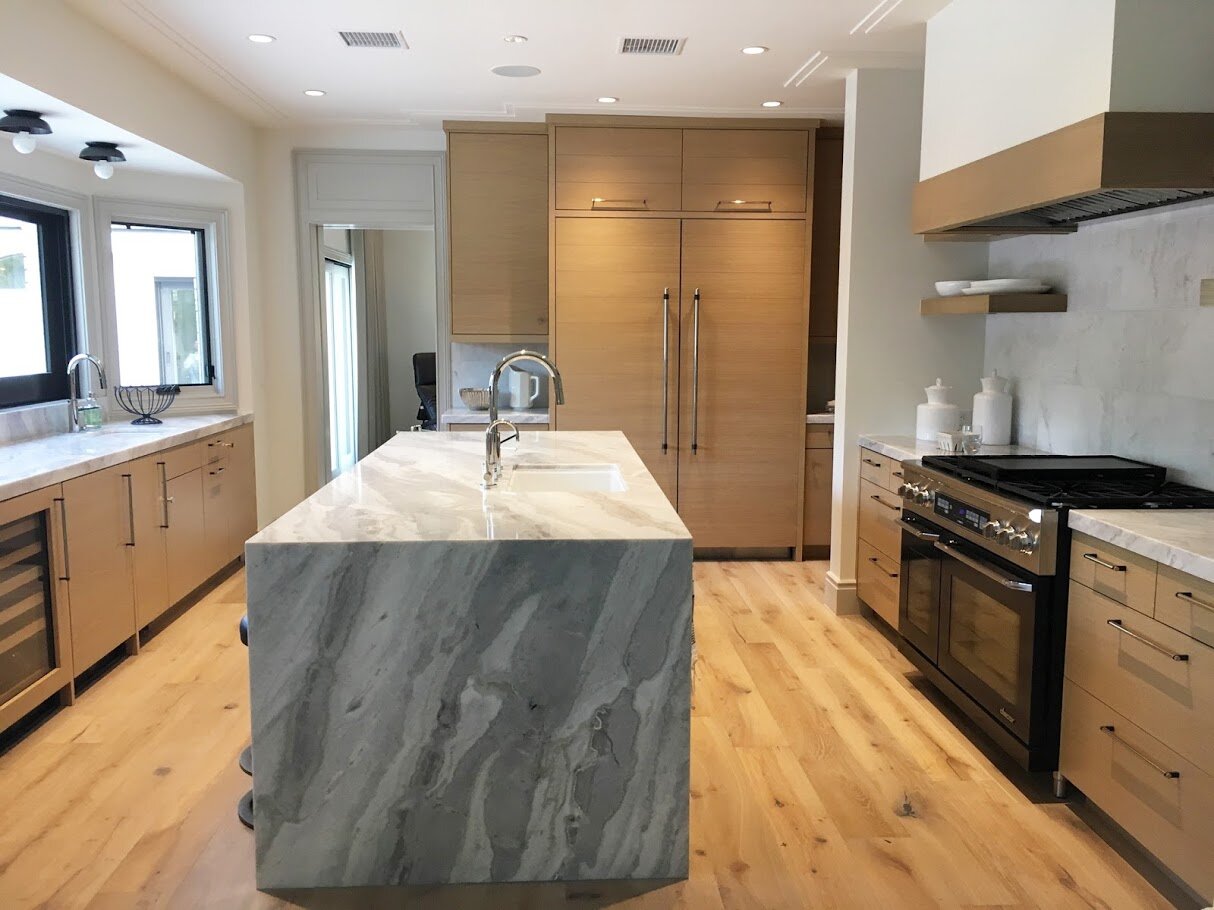
Mix up and balance your finishes.
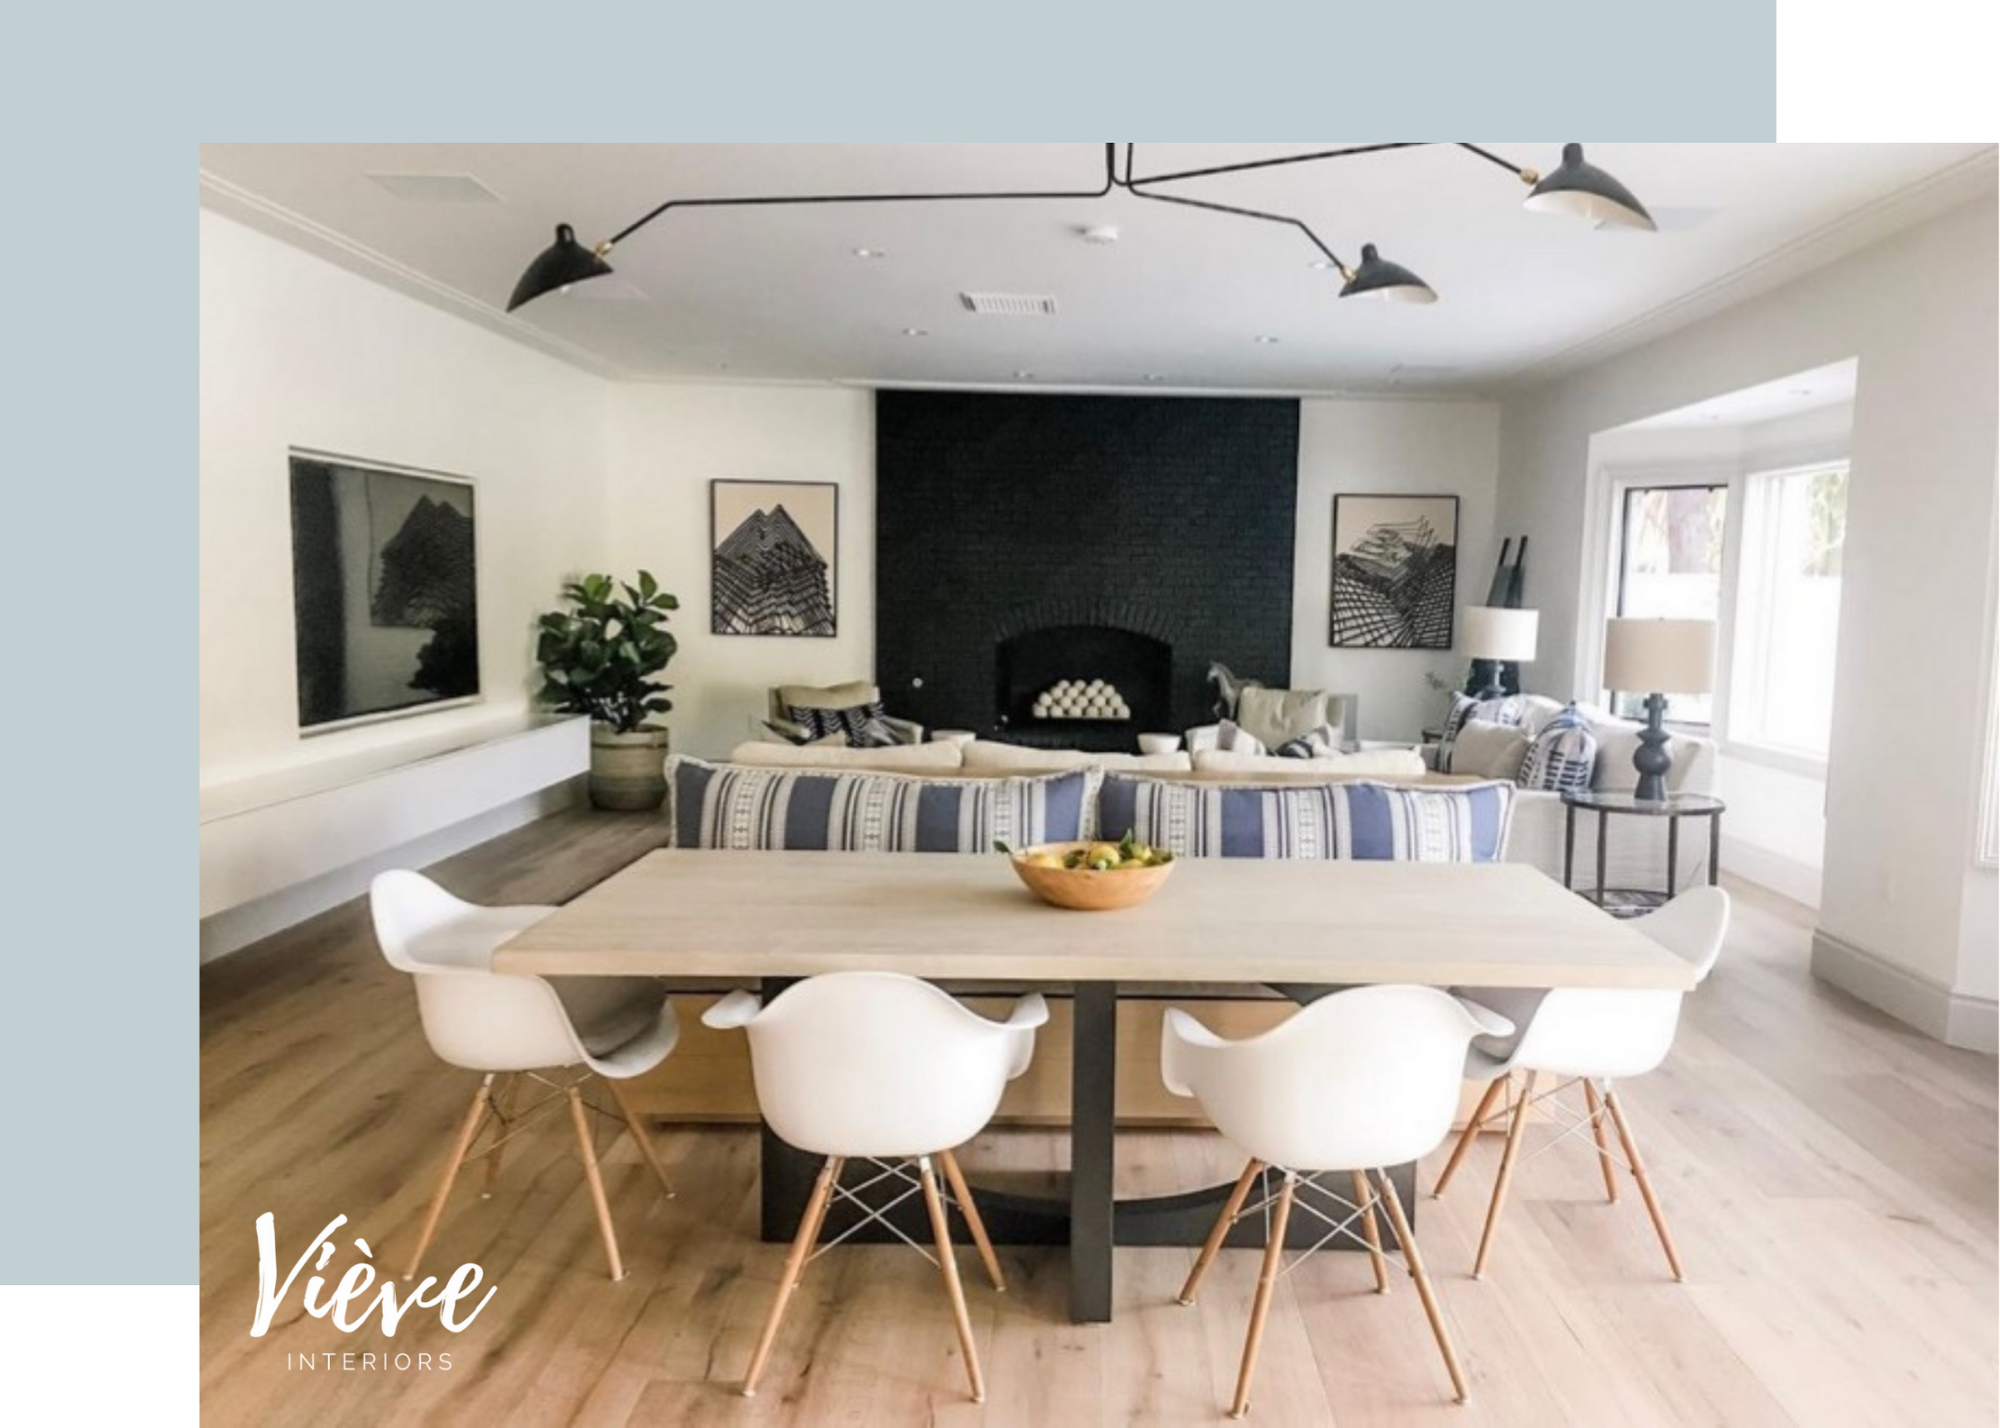
A great way to make your home feel like it came straight out of a magazine is to decorate with a mix of finishes. Hold on, hold on—before you start mixing and matching furniture with abandon (which we do recommend over purchasing a matching set of furniture), consider the balance of the finishes around the space. For example, if you introduce a light wood like the dining table in the room above, use that finish again somewhere across the room like we did in the TV console doors. You can’t see it in the photo, but our client has a white console with a black top in their entryway, so we balanced that with the white frame of the TV console. We also added touches of black with the dark coffee table and the dining chairs to balance the black of the TV and the dark wood on the floors.
Make bold statements.
The living room is a great place to make a bold design statement and there are so many ways you can do this!
Take our first photo for example. High contrast of the black brick fireplace in this beautiful white living room makes a bold modern statement which is softened by some pretty muted blues and punctuated with modern angular art.
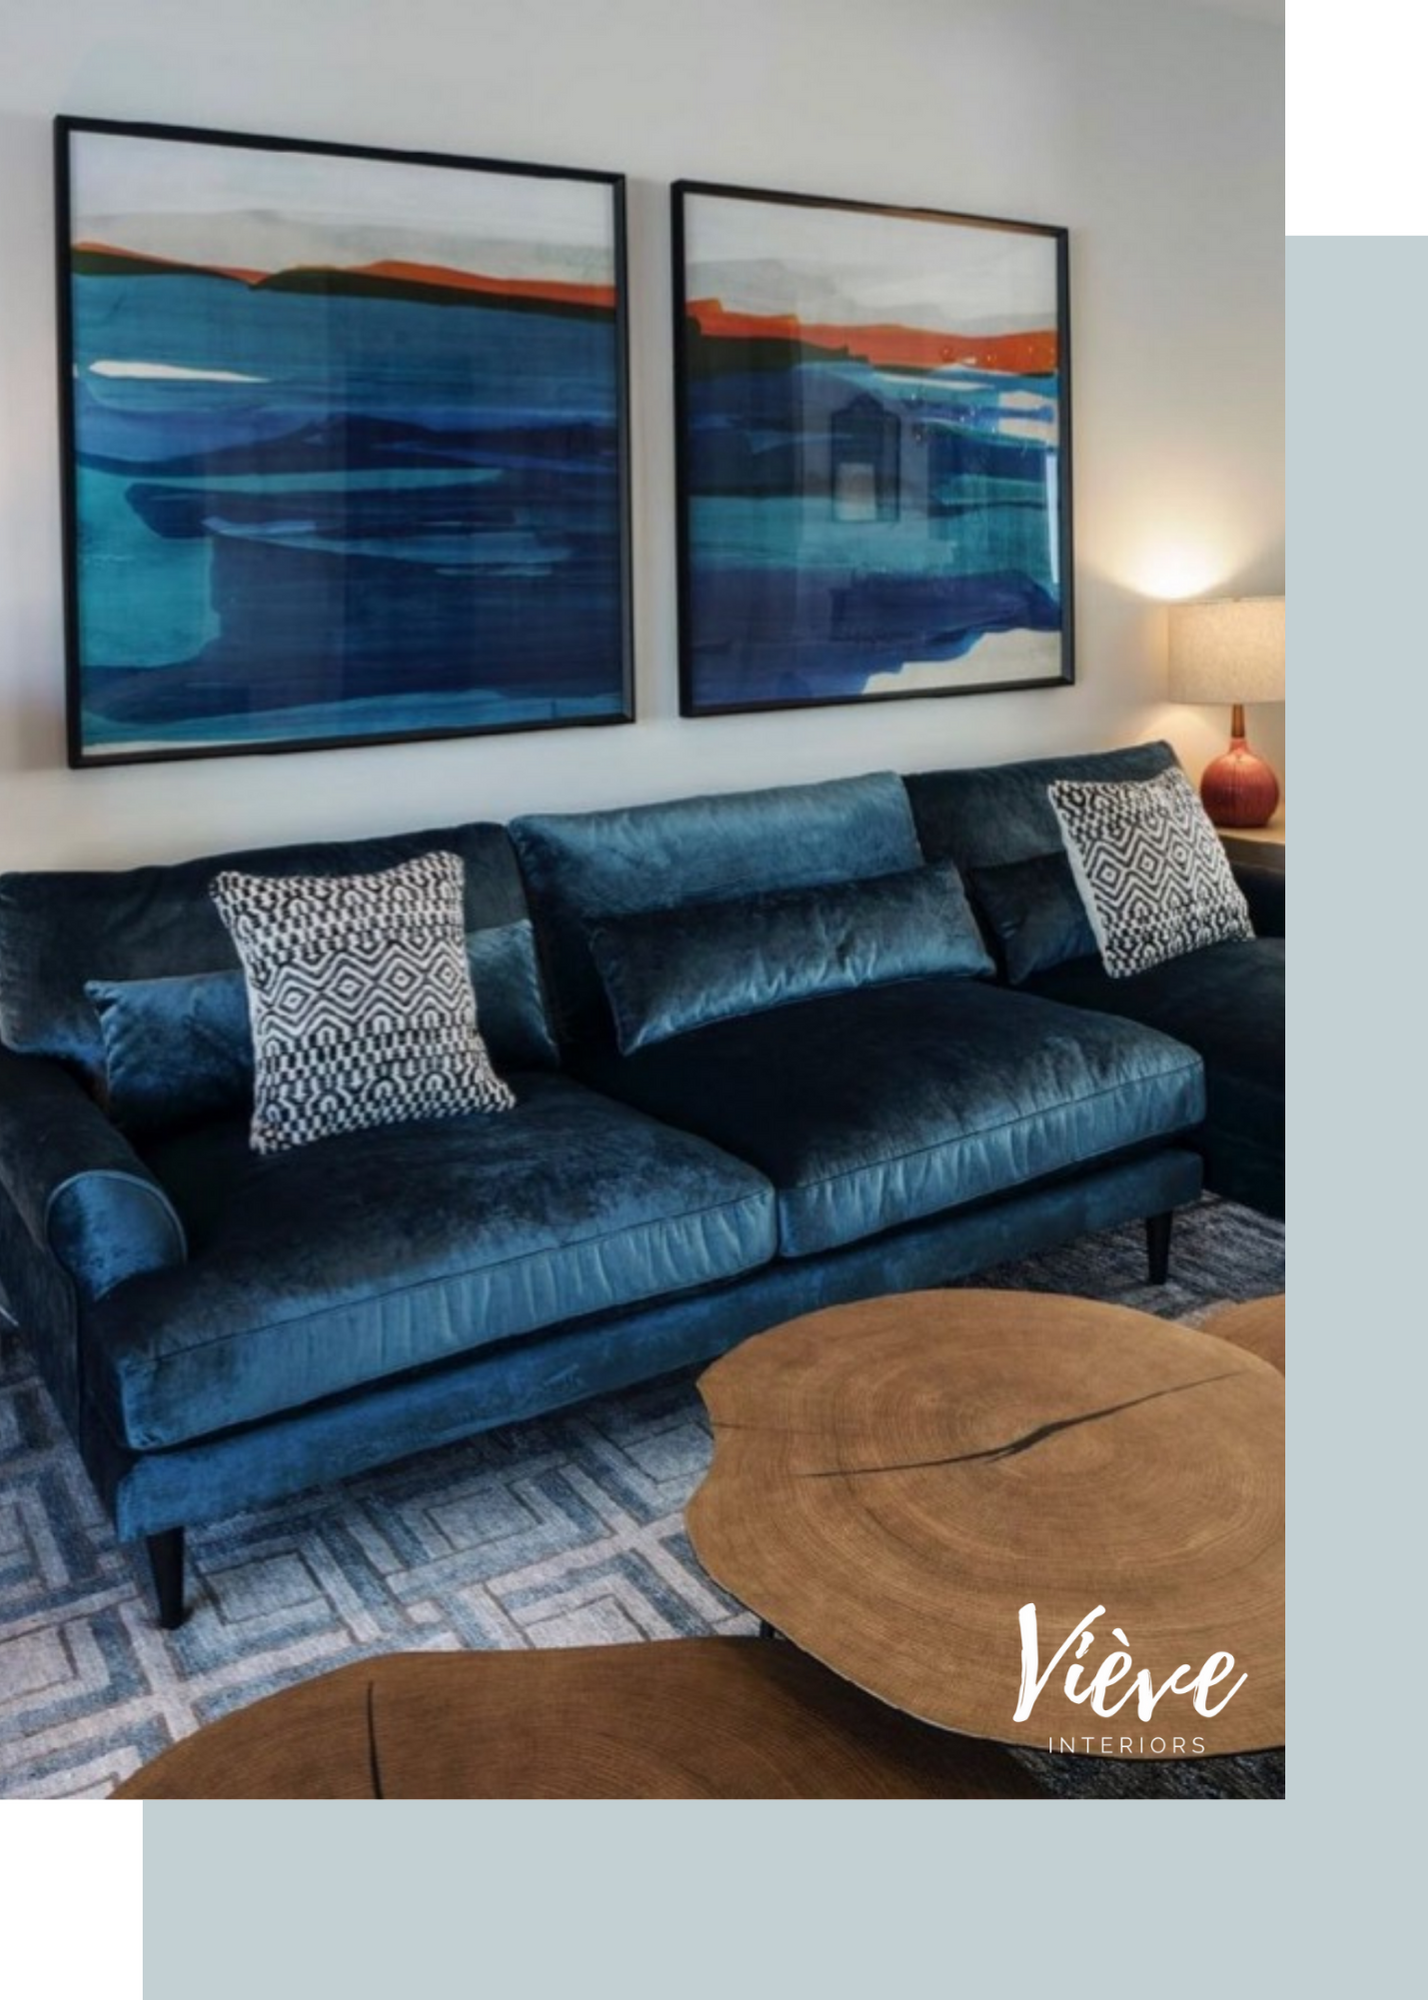
Here we chose to hang very bold artwork and opted for a bold blue velvet sofa to match.
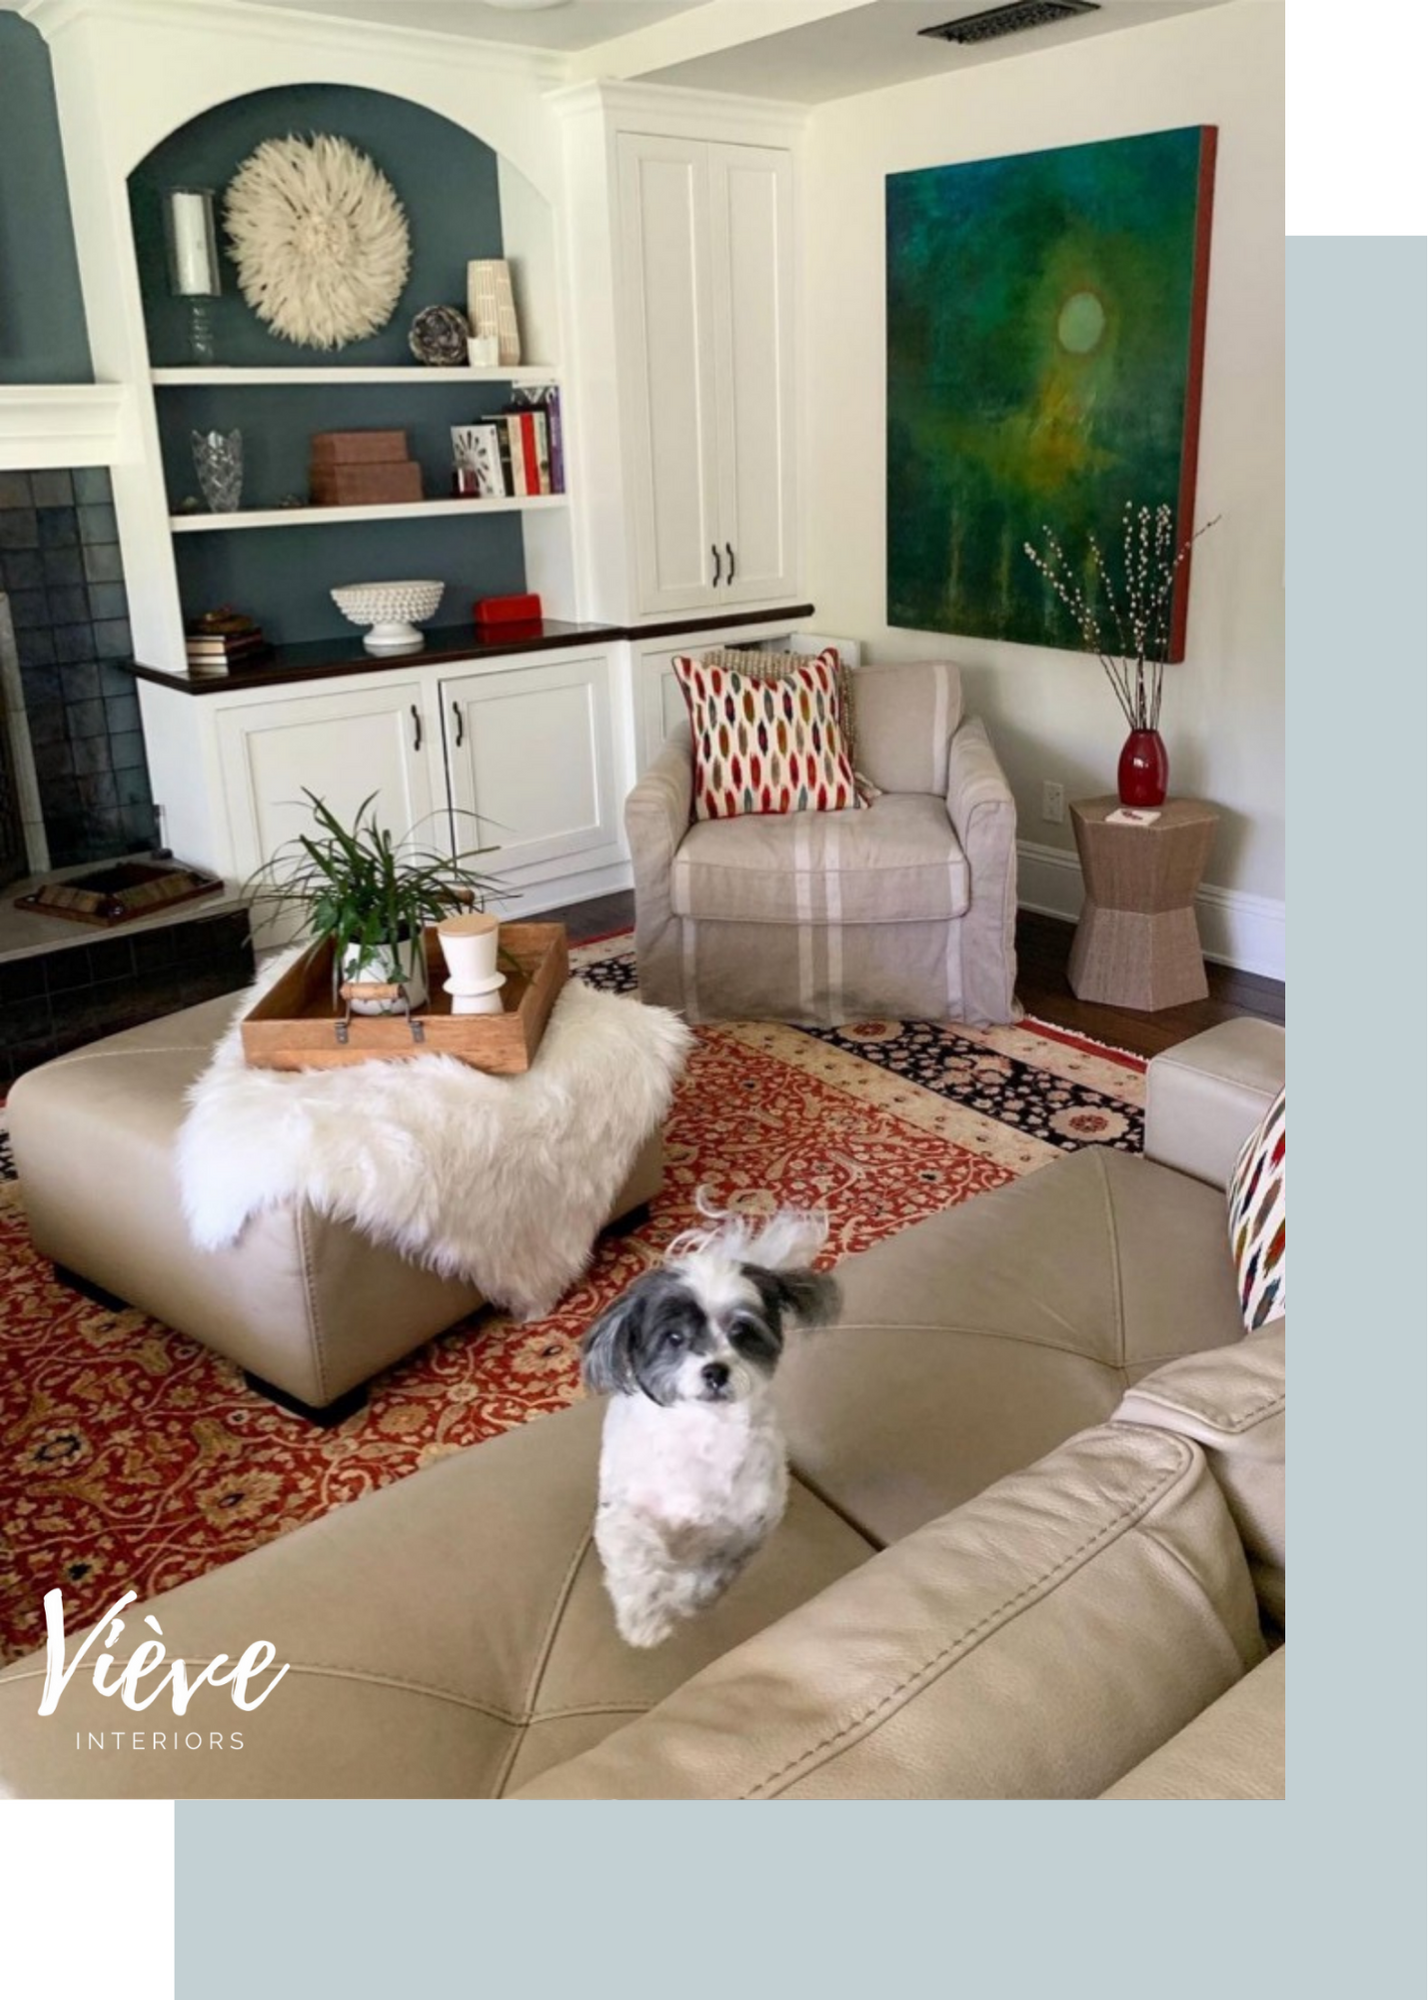
If you’re looking to make a statement without going too bold, try giving your living room a little pizzazz by painting an accent wall. Here we chose to paint the back of the bookshelves to match the fireplace tile. Then we tied the rug in by adding some custom pillows that pull all the colors together. Which brings us to our next tip…
Use pillows to tie in other decor elements.
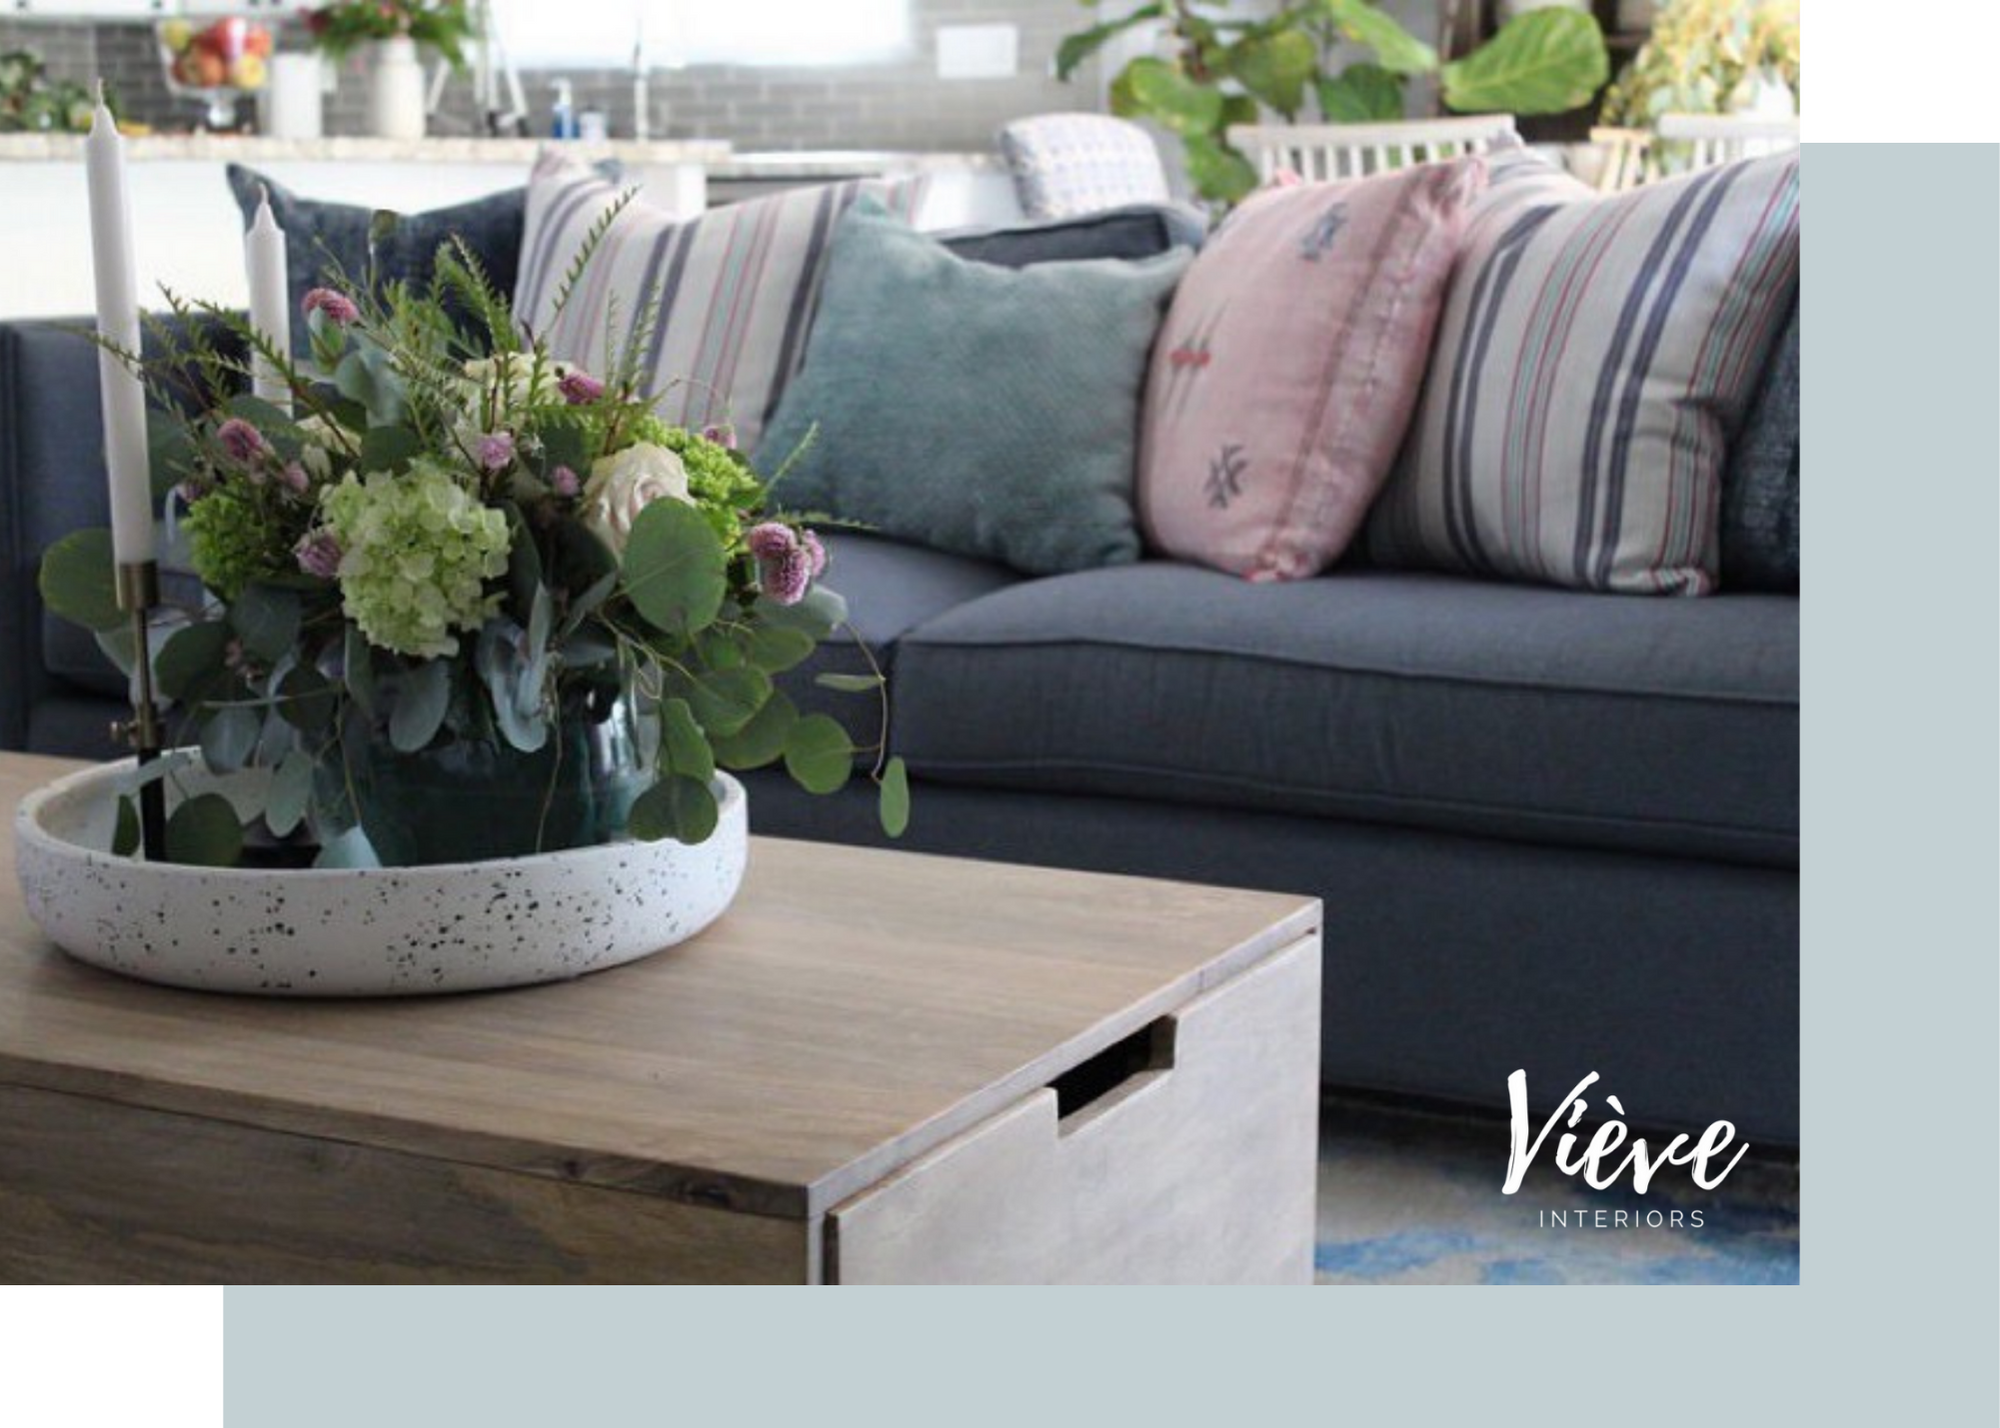
Pillows have another important function beyond comfort. Throw pillows can be used to tie other decor elements (like paintings and photographs) in your living room together. Incorporating throw pillows is one of the easiest ways to add style to your living room and can make a dramatic difference in creating a cohesive and complete look. Pro tip: let your throw pillows have their own personality, but make sure to coordinate the colors in the pillows with the colors around the room and vary the scale in the patterns you use. Here we used a large striped mused with a solid as well as a small block print blue pillow.
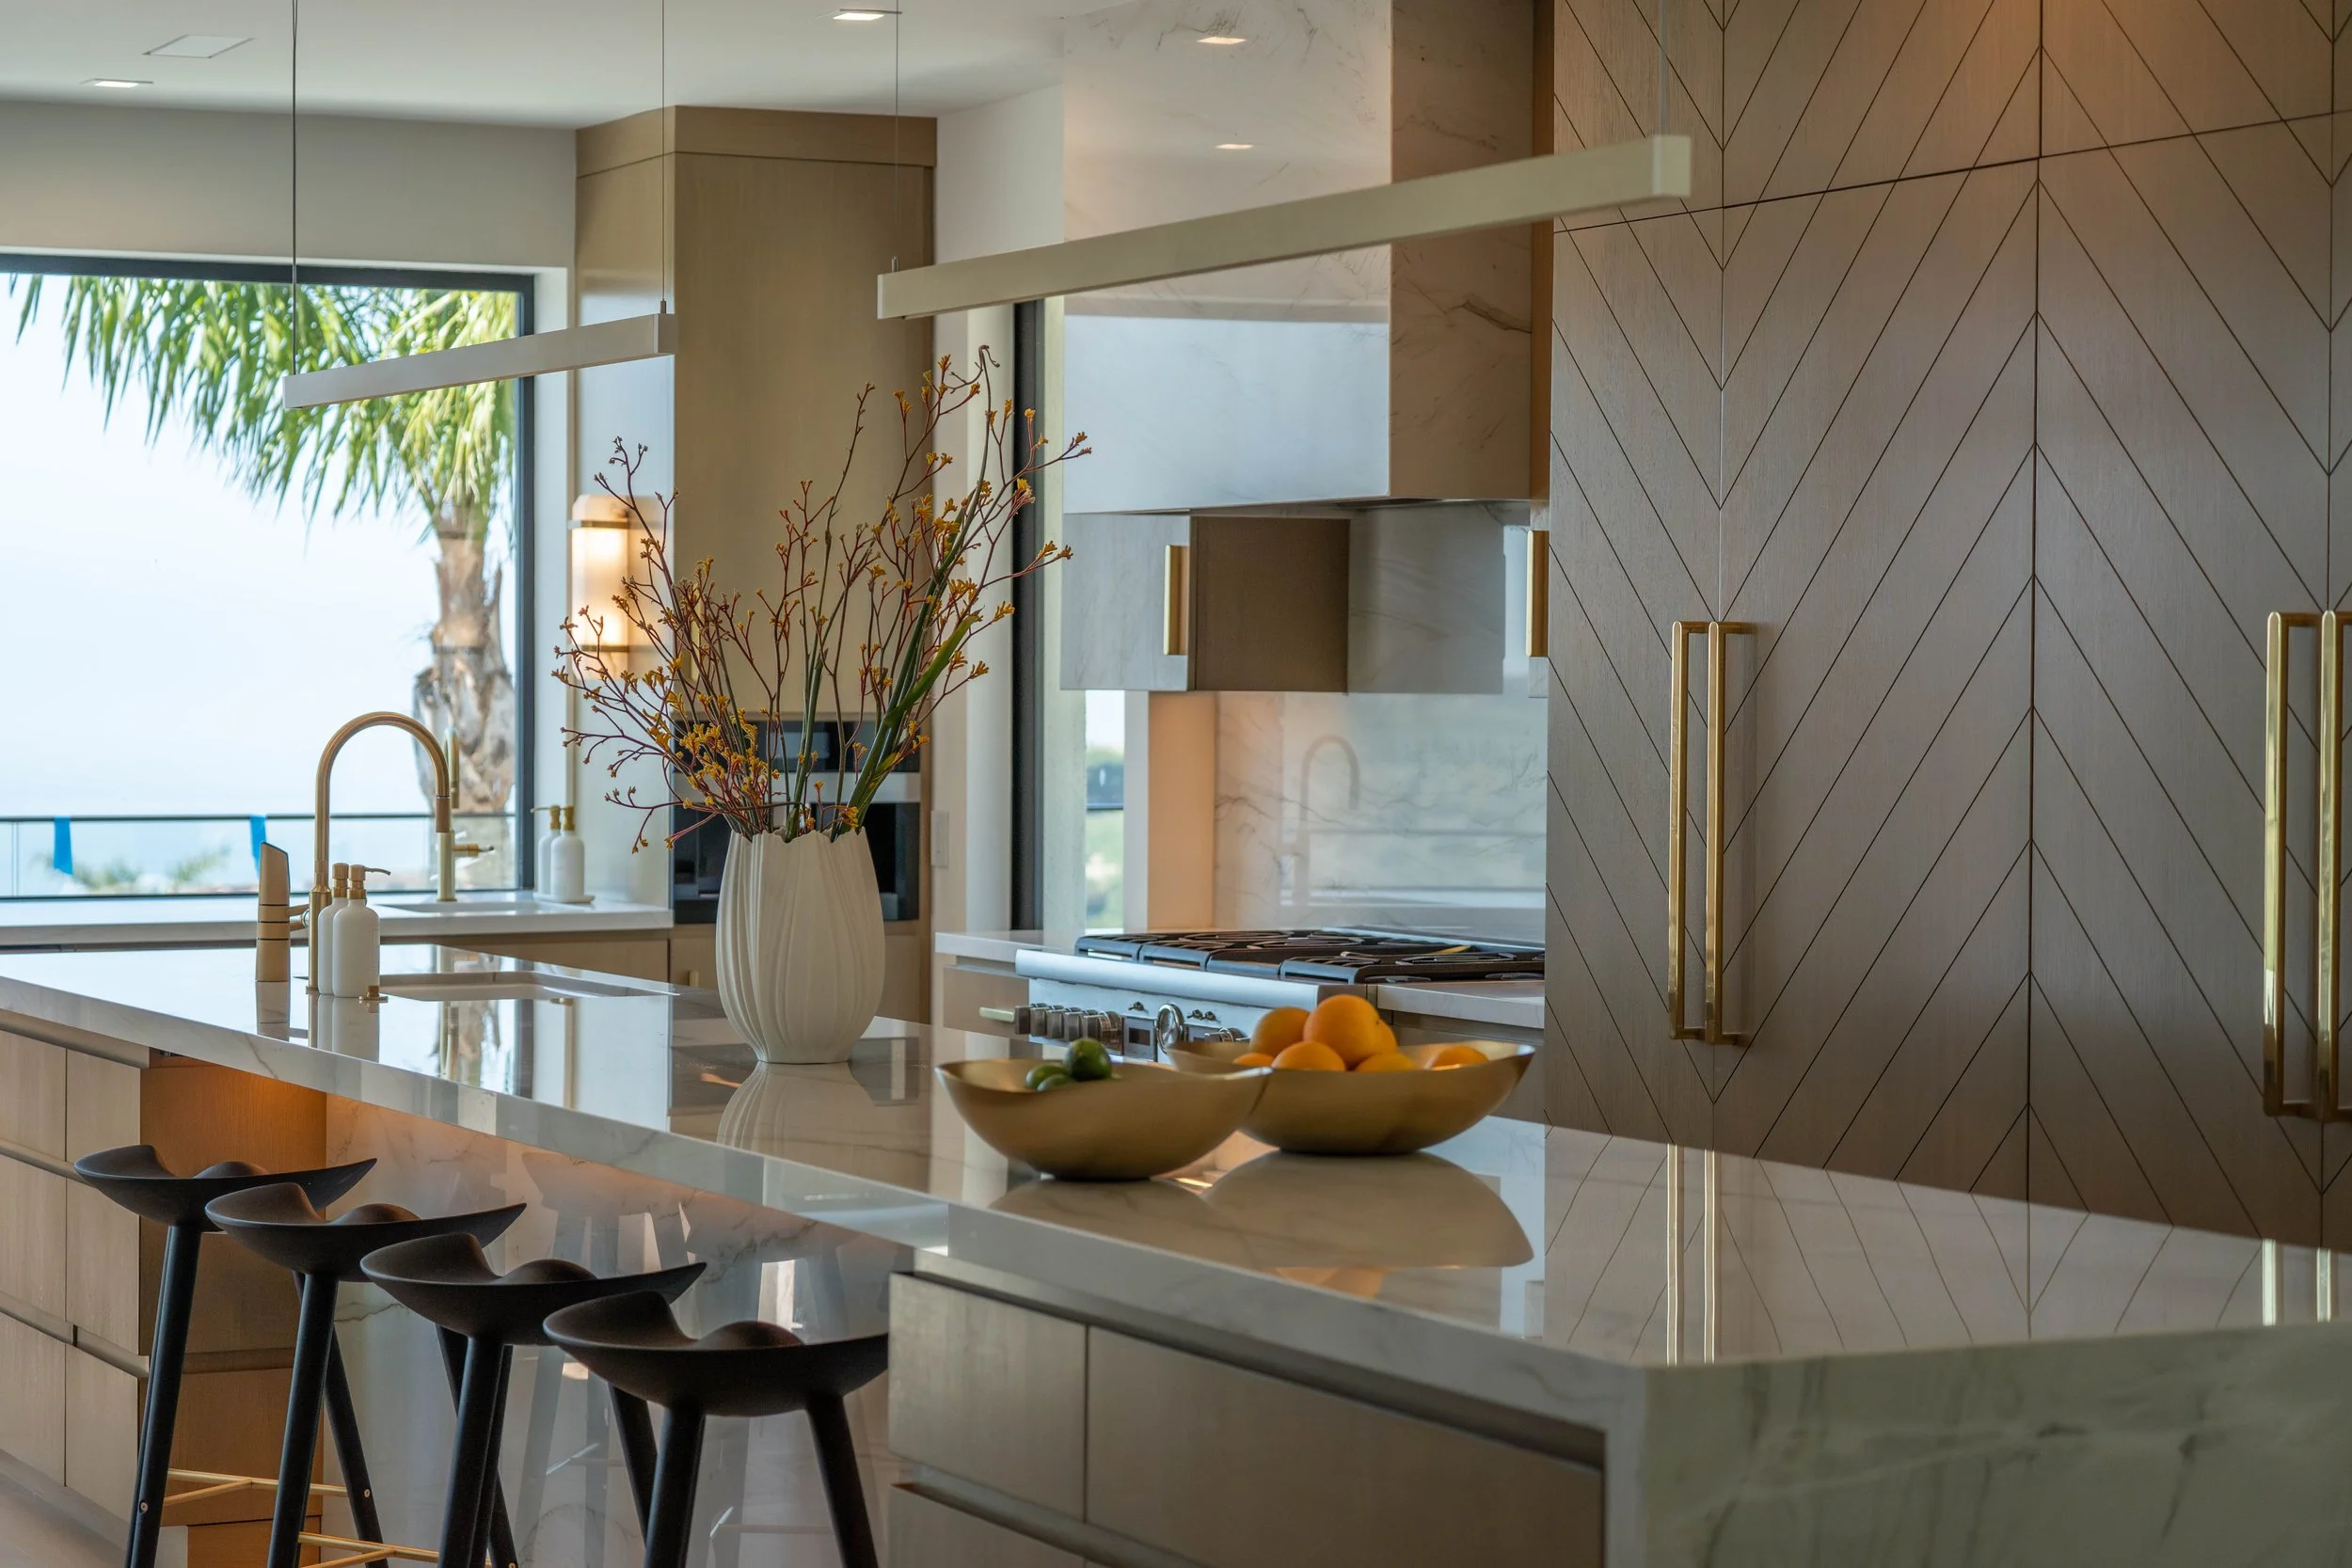
Complete the look with accessories.
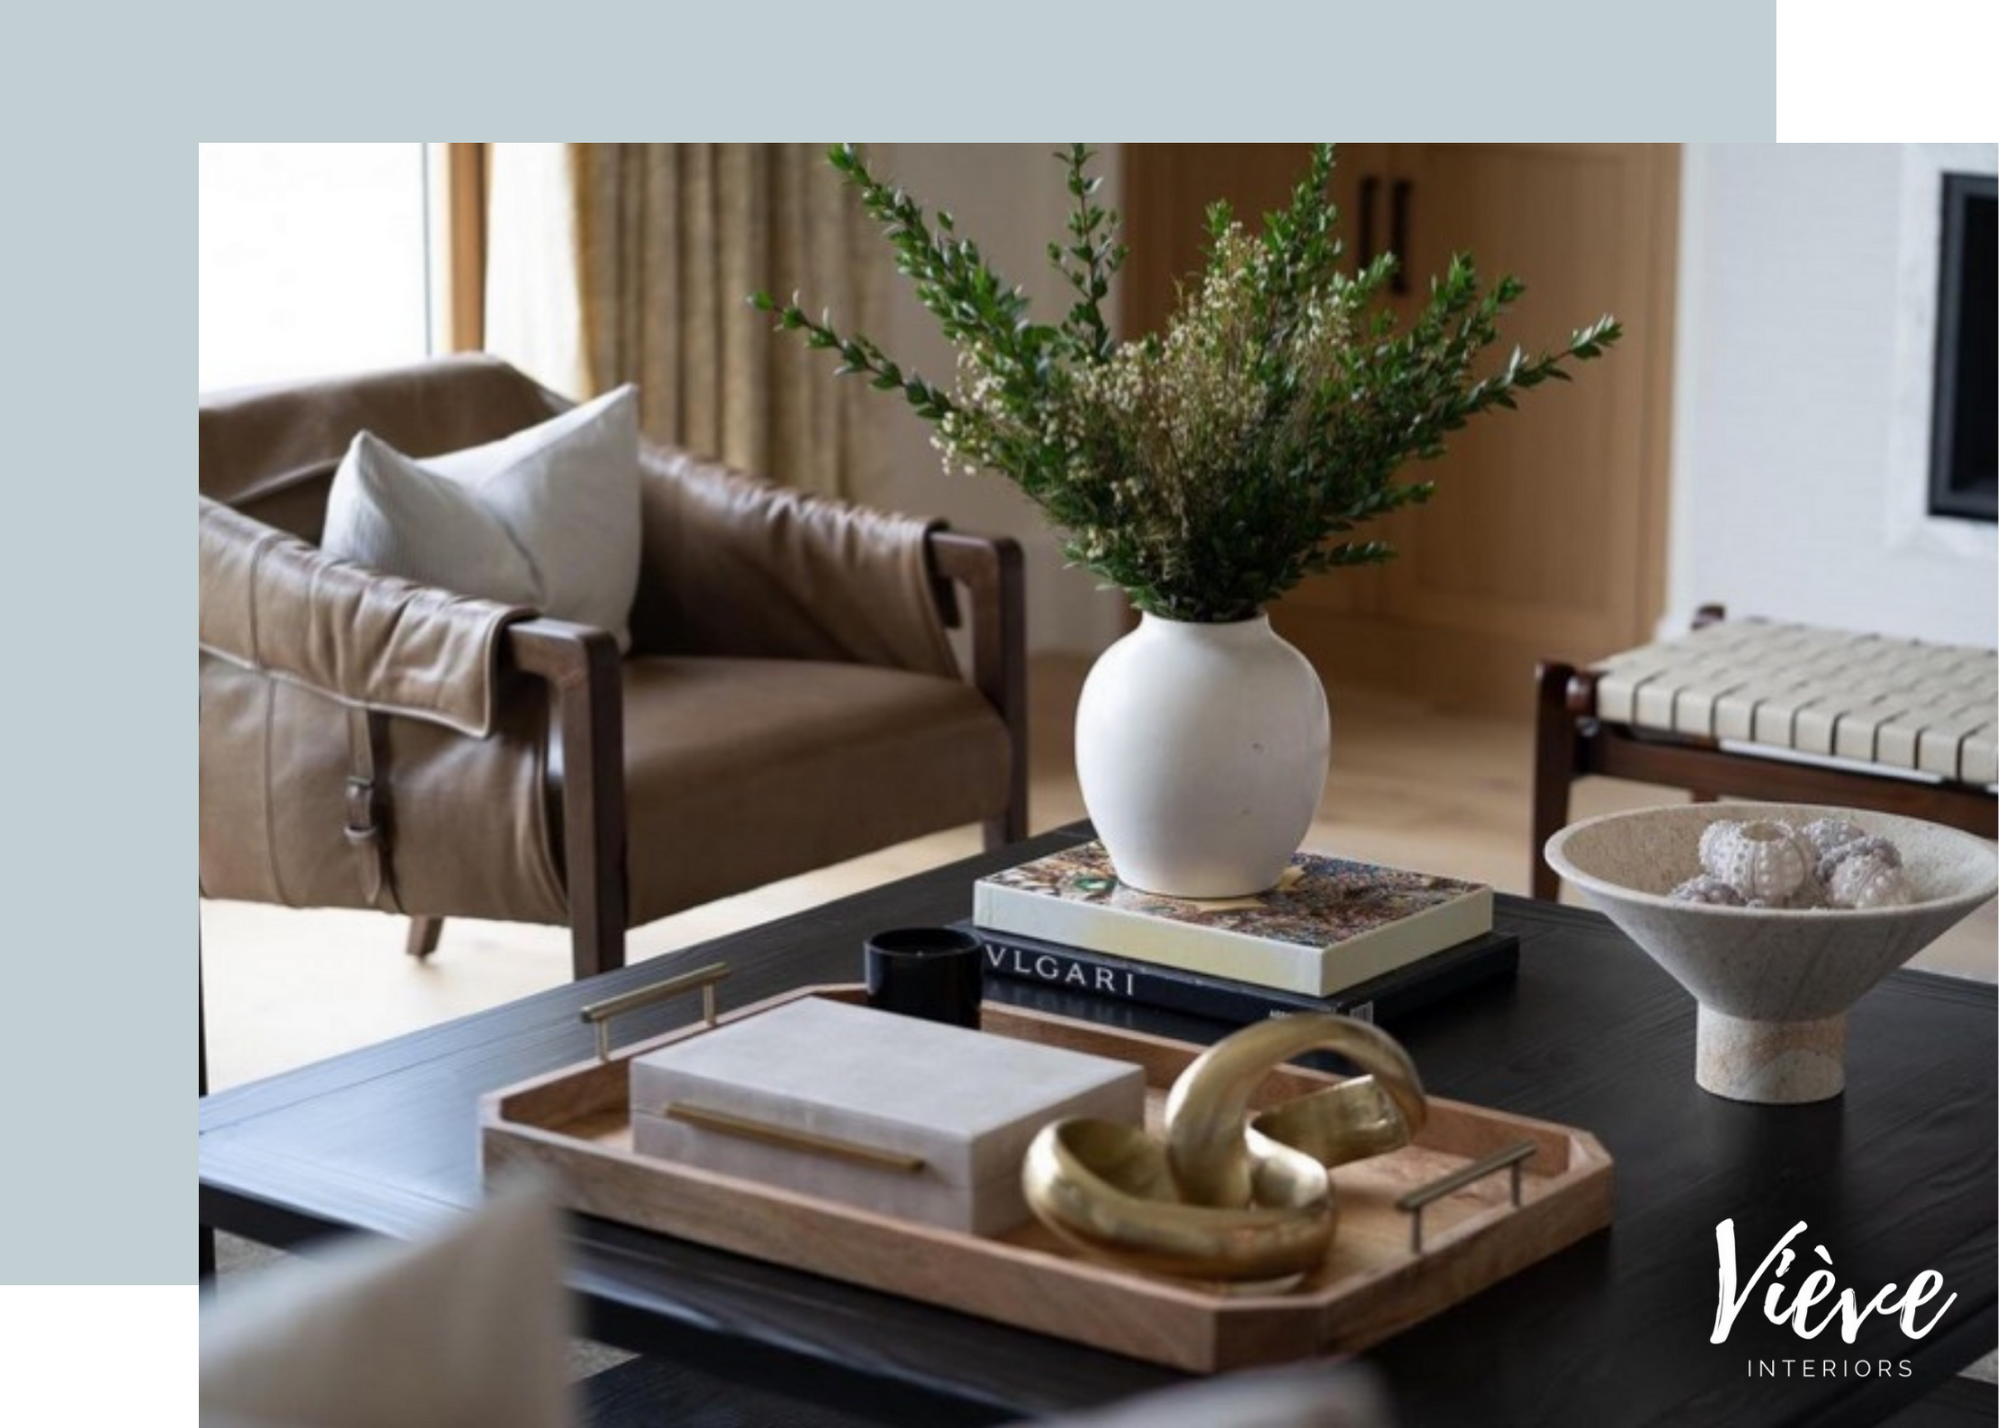
It’s amazing how adding accessories can make your living room feel complete. Here’s a snippet of a family room where we layered the coffee table with a tray, box to hide remotes, books and a few decorative objects that tied together the natural finishes and golden shimmer, all in the same spot. We topped it off with a little greenery to bring the home to life!
At Viève Interiors, it is our mission to help homeowners love where they live because happy homes are the most beautiful homes! If you need help creating a living room that you absolutely love to come home to, contact us!

Save this blog post for later on your Pinterest Living Room Ideas Board!

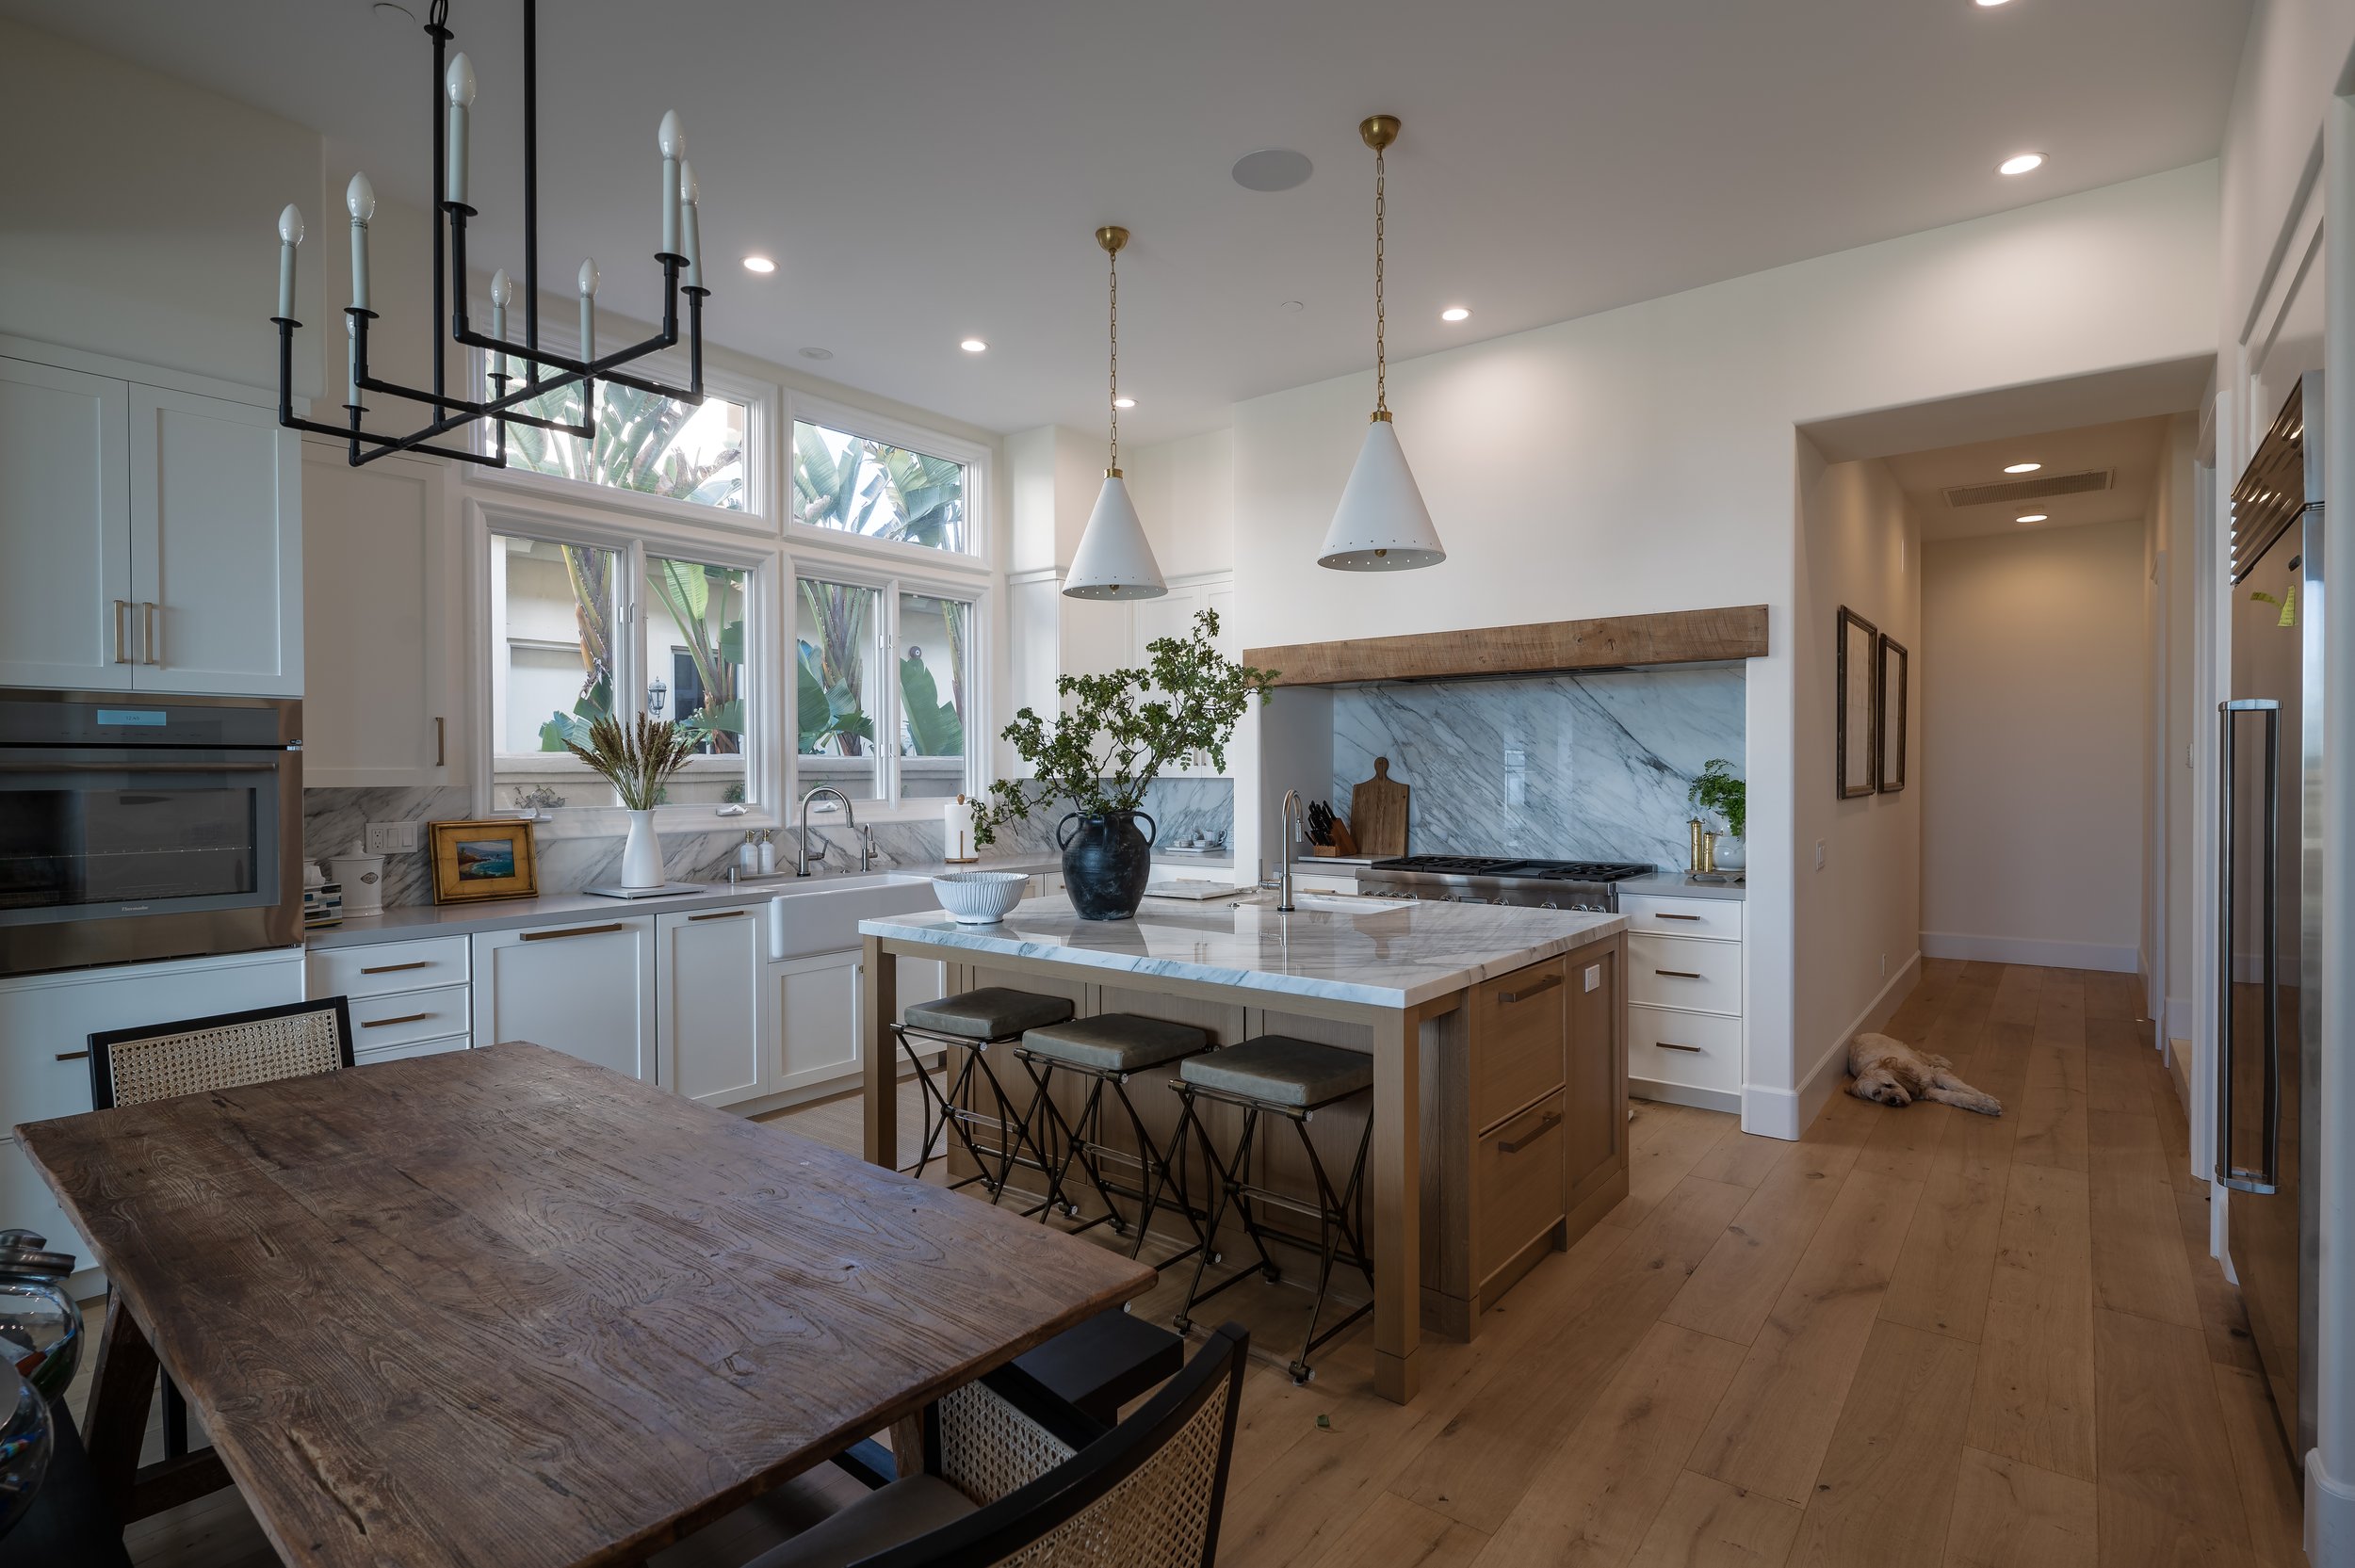
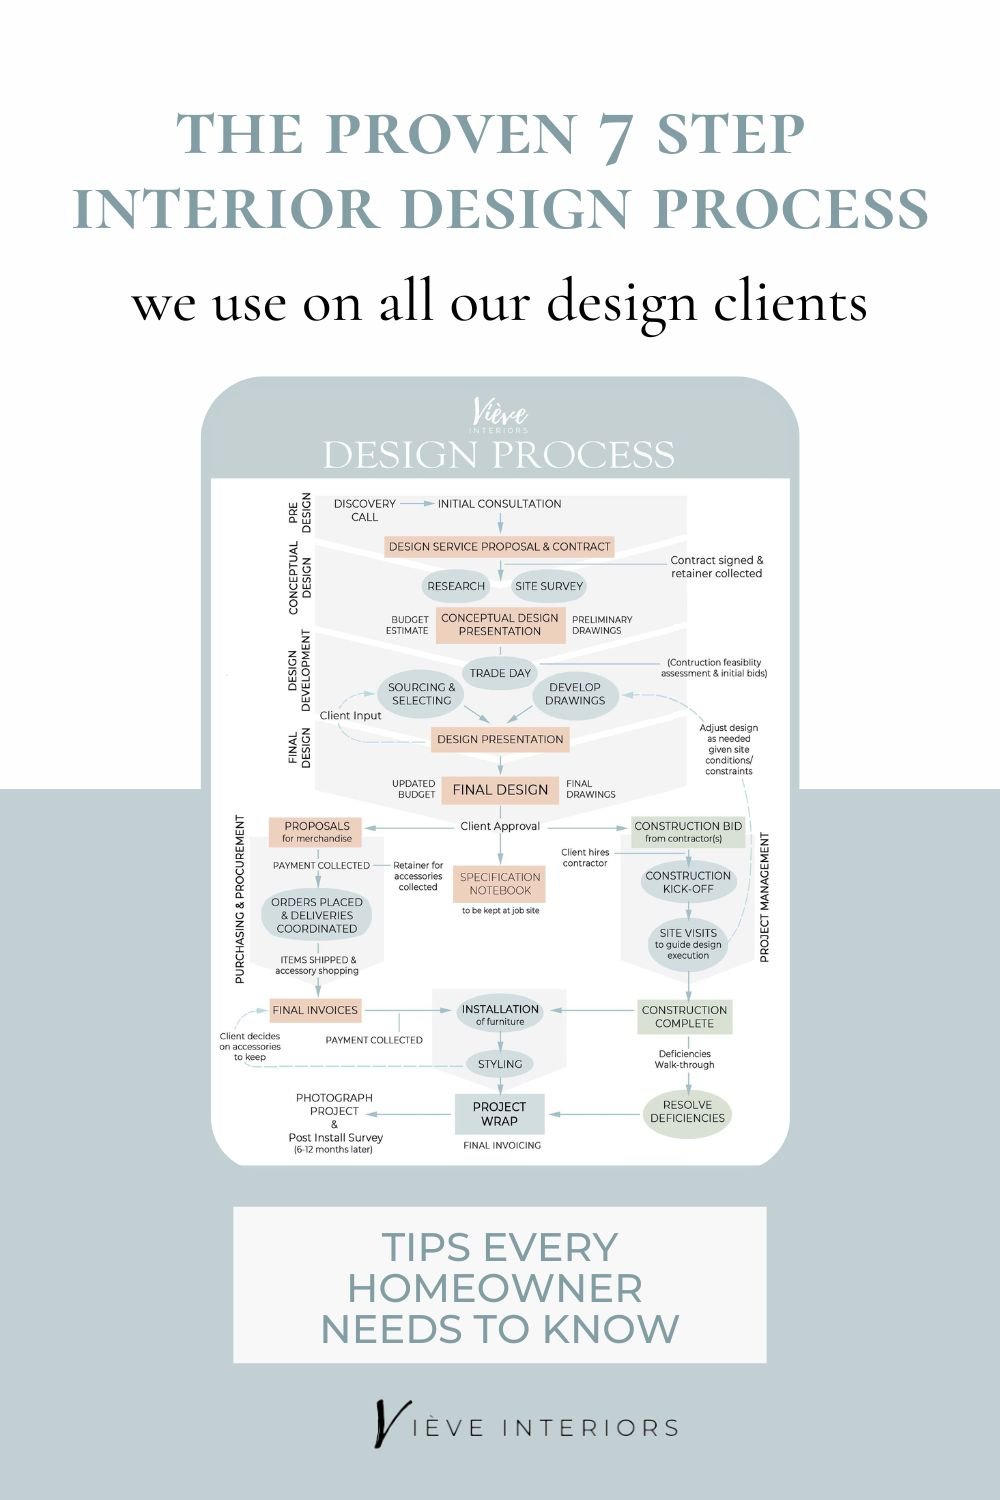
Understanding the Interior Design Process: a Step-by-Step Guide for Working with an Interior Designer
Curious about the interior design process? Check out our step-by-step guide for working with an interior designer. You’ll gain a better understanding of the full remodel process, from discovery call to final walkthrough and everything in between.
Designed by Vieve Interiors
I know what I like, but I just don’t know how to make it all come together. We hear this so often from our clients. This means it’s time—time to tap out (so to speak) and tap in a qualified interior designer! Working with an interior designer eliminates the stress and overwhelm, eases the process of remodeling and building homes, improves the functionality of your living space, and transforms your personal style and goals into a beautiful, cohesive home.
If this is your first time working with an interior designer, you may be curious about the process. You’re in the right place. We’ve created a step-by-step guide for working with an interior designer to help you develop a good understanding of the interior design process before you begin.
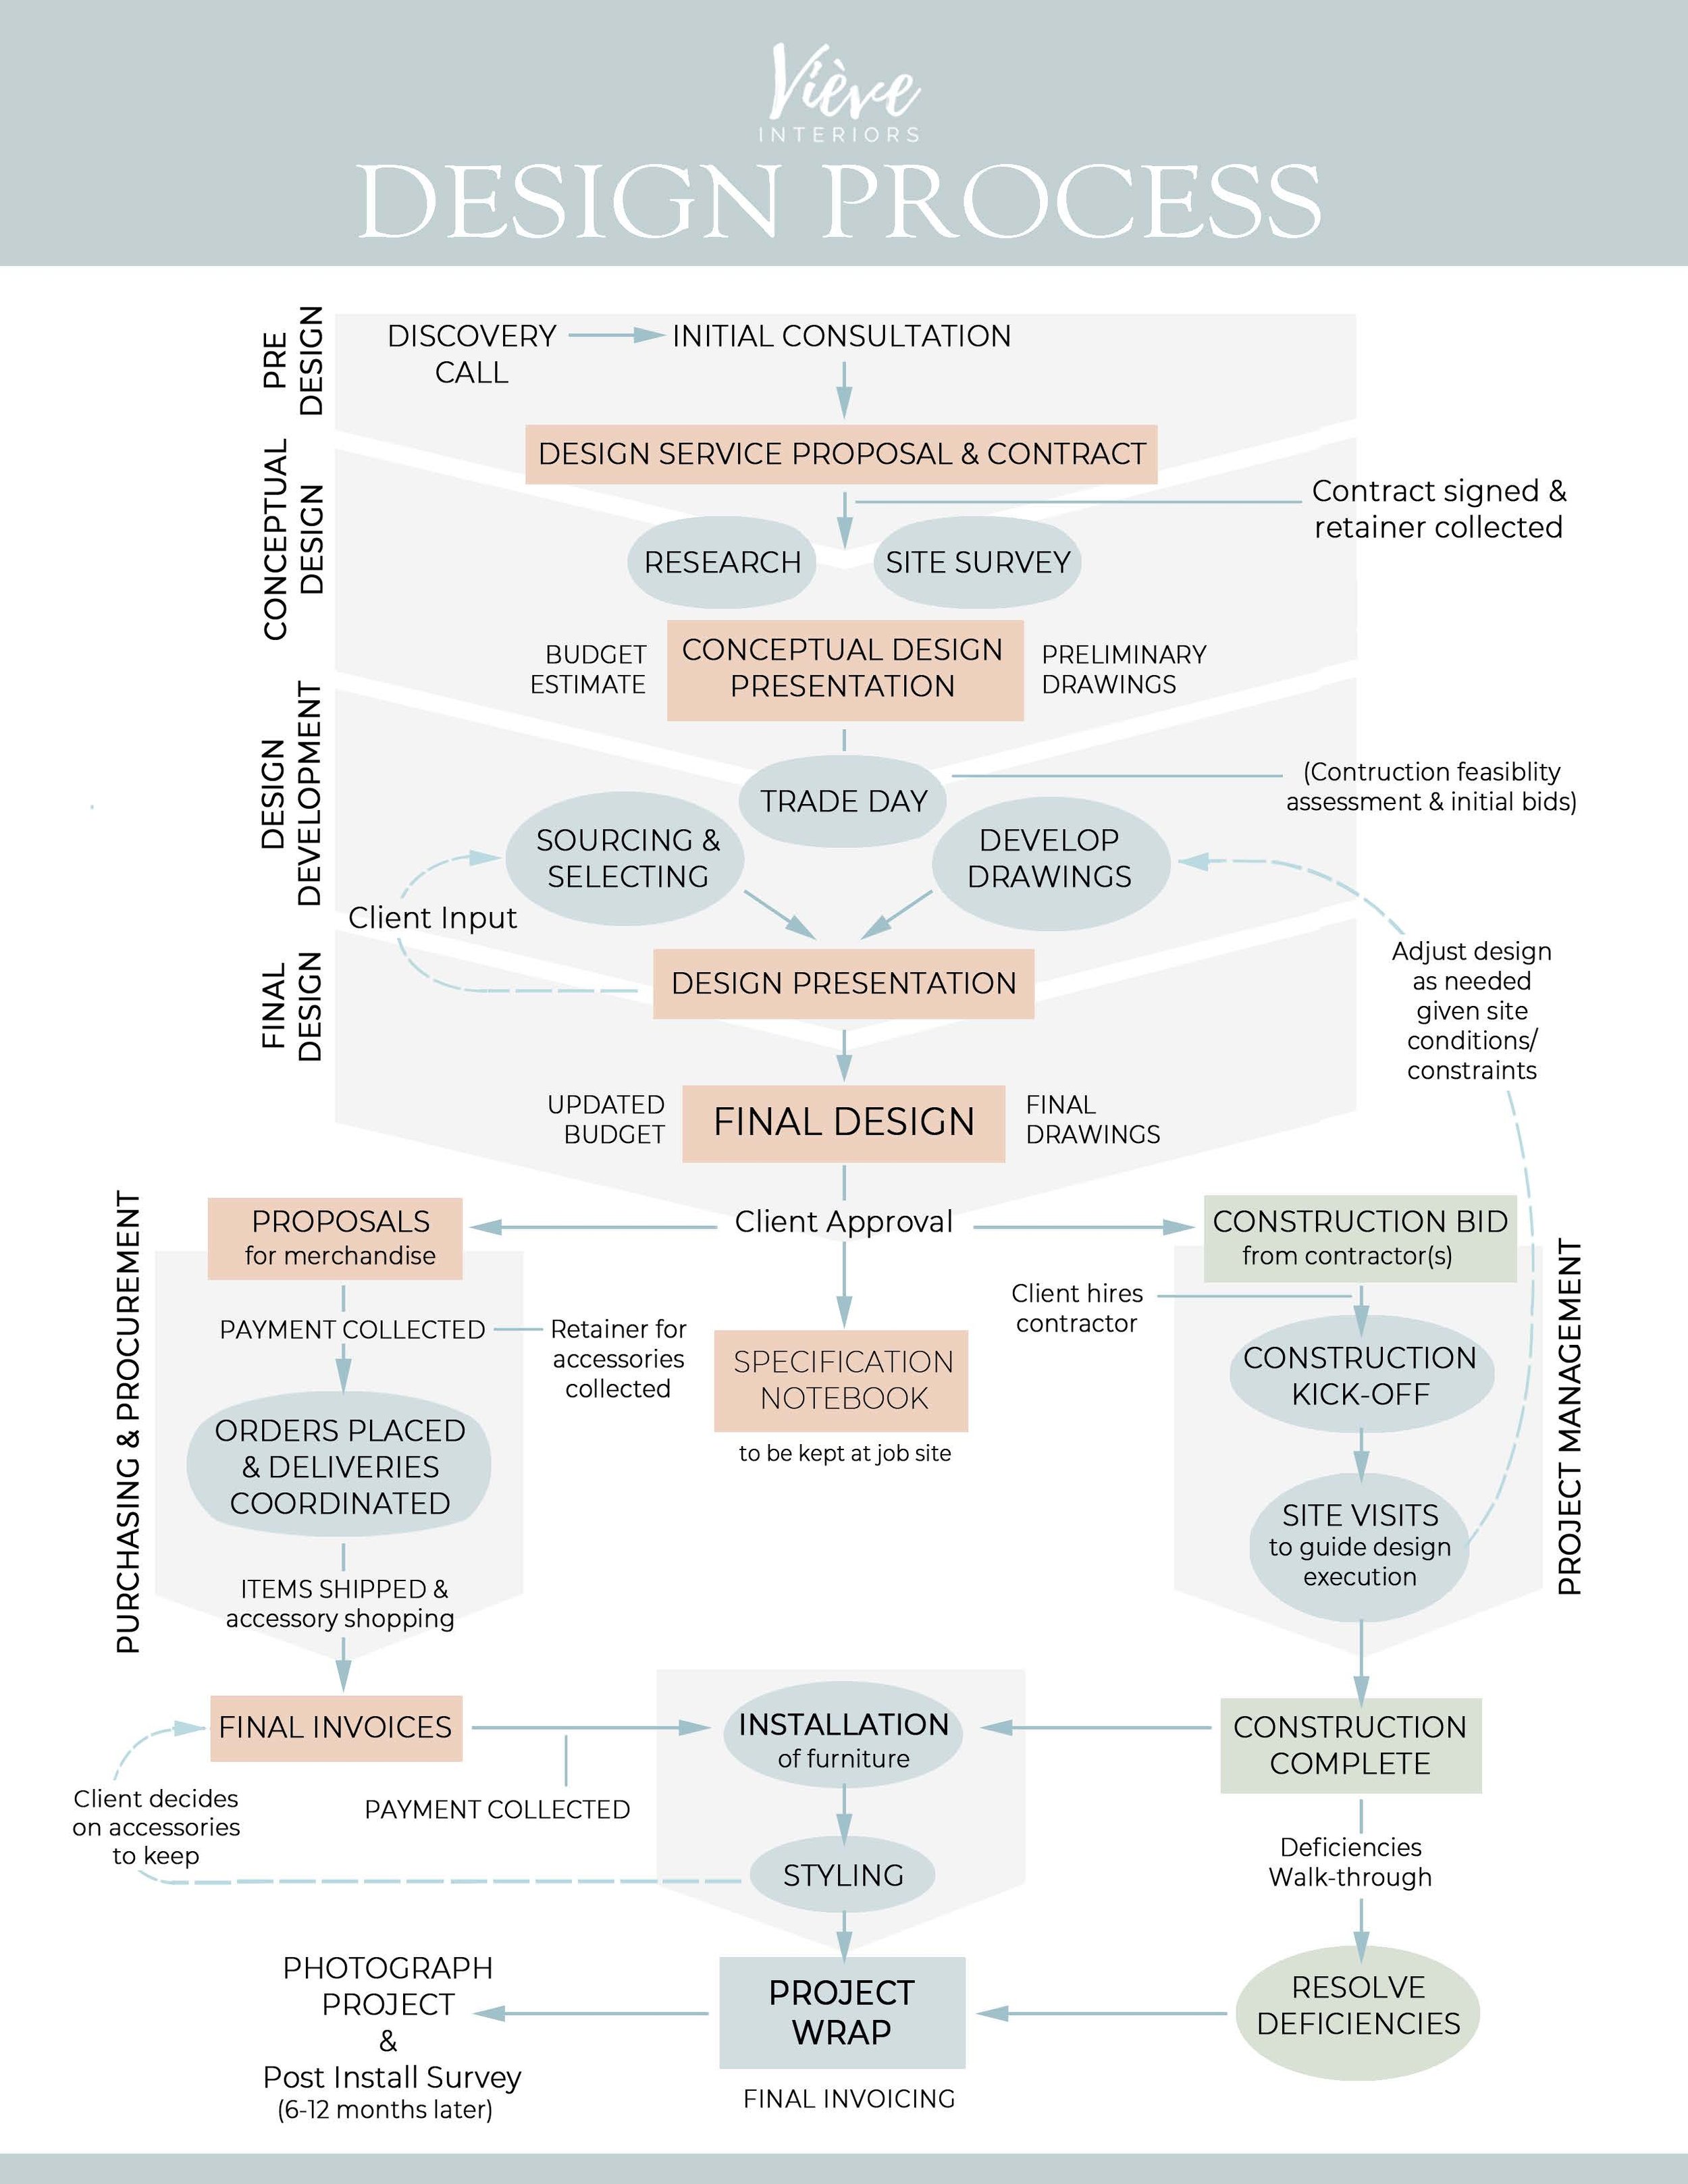
Step One: The Discovery Phone Call
The first step in the interior design process is to get to know your potential interior designer with a discovery call. This initial meet-and-greet is the perfect opportunity for both you and the interior designer to determine if working together is a good fit.
Your choice of interior designer shouldn’t be based solely on design style. While good style is obviously a determining factor, it is important to remember that if design principles like balance, rhythm and repetition, contrast, and proportion, are well thought out, your space will come together in a cohesive way no matter what design style you choose. So, find someone who:
Will work within your timeline and budget.
Is a good listener and will not steamroll your ideas—a good designer should be able to easily add your personality into their design plans.
Can decipher your pain points and goals.
Not only has an eye for aesthetics, but also has a technical background and plenty of experience.
Once you are confident you have found a perfect match for your redesign, it’s time to schedule your in-person, on-site consultation.
Step Two: In-Person, On-Site Consultation
The in-person, on-site consultation kicks off the start of your project (yay!). Each design firm does things a little differently, but our initial consultation typically lasts two hours and is a paid service. During your consultation, you will start to have conversations about functionality and style. This is your time to tell your designer all your hopes and dreams for your space! Your designer may make some suggestions or have some design ideas to consider, but this meeting is largely about gathering as much information as possible to understand your needs. This is also when your designer will go over the entire design process and your contract.
Step Three: The Conceptual Design Phase
Time to get excited—during the conceptual design phase, your designer is hard at work putting together their big vision for your home! The designer will complete a site survey to take measurements and photos of your space. You are also likely to receive access to a shared Pinterest board during this phase so that you and your designer can start to get inspired.
This phase is also the time when initial floor planning begins—to develop good flow patterns and add desired features into your home. If you opted to work with a designer who also has a technical background, you will likely see preliminary AutoCAD drawings of initial floor plans for full remodels and some options for furniture space plans.
At the end of this phase, your designer will meet with you to review the initial plans, conceptual design ideas, and an estimated budget to ensure they are on track with the design intent.
Step Four: The Design Development Phase
After the initial plans are approved, the design development phase begins. This phase is kicked off with a “trade day” in which your interior designer will review the preliminary design ideas with the contractor and tradesmen to get initial bids for construction.
Next, your interior design team will develop all drawings and iron out all the specifics (every little detail) while simultaneously sourcing all materials, fixtures and furnishings. They will carefully select everything for your newly renovated home, including:
Tile
Lighting
Finishes
Countertops
Cabinetry
Paint colors
Flooring
Plumbing
Appliances
Furniture
Ready-made or custom pieces
You get the idea! Once the refined plans for your design are complete and selections are made, your designer will request pricing from vendors and update the budget as well as the timeline.
At the end of this phase, you will meet with your interior designer to review a finalized design presentation, tear sheets, and the physical material samples. This design plan will be the most finished product up to this point. If something is not approved, the designer will reselect items, refine any construction drawings, and present you with the updated design. Once everything is approved, we move onto the final design phase.
Step Five: The Final Design Phase
In the final design phase, a few big things are happening. First, your interior designer will create a specifications notebook for the general contractor (to be left at the job site) that includes all floor plans, along with specification sheets of finishes, fixtures and furnishings. All final drawings will be given to you, the general contractor, and any trades necessary. If the general contractor has not done so yet, this is the time they will obtain any required permits.
Additionally, your designer should begin collecting accessories to be able to complete your design once construction is finished. At Viève Interiors, we compile a list of accessories and final touches needed and then collect a retainer before purchasing what we need to style out your home. Once that is done, “purchasing and procurement” of all merchandise will begin. The interior design team will coordinate all deliveries and, when necessary, work with a receiver who will make sure everything is in great condition.
The final design phase will also include a lot of project management tasks. For example, the interior designer should host a walk-through meeting with the contractor to kick off construction, and then make periodic visits to the site to ensure design execution is going as planned. Inevitably, issues may arise, in which case your designer should always be looking for solutions and adjusting plans and drawings when needed.
During this final design phase, the designer will also verify locations of light fixtures, tiles and other flooring, refine details on site, and coordinate additional vendors (like an upholster, wallpaper installer, or window treatment workroom).
Step Six: Installation and Styling
Finally, the stage when we get to see it all come together! Once construction is complete, your interior design team will schedule a time to take photographs and will install all furniture and décor. At this point, you get to decide what accessories you want to keep and what you want to return. It’s so fun!
Step Seven: Project Wrap
After a long journey, the day has finally come for the last walk through—yay! To make sure that you are totally and completely in love with your new home design, your interior designer will walk through your space with you and note any deficiencies that need to be resolved, while coordinating solutions. This is also the time where your designer will take pictures of your beautiful home and give you the final invoice. If you are happy with your new remodel, it’s the perfect opportunity to give your interior designer a few referrals or a raving review!
Want to save this blog post for later? Be sure to save this to your Pinterest Interior Design Tips Board!
We hope that you have gained a better understanding of the interior design process! If you have questions, or would like to book a discovery call, call 949-610-7800 or fill out the contact form and we will reach out to you directly!
At Viève Interiors, it is our mission to help homeowners love where they live because happy homes are the most beautiful homes!

Hi friends! I’m Genevieve, ower of Viève Interiors. With an attentive ear, savvy technical skills, and a knack for style, I love helping clients create beautiful, polished and personalized homes that they love. For more information about how we can help you design your dream home, reach out to set up a complimentary discovery call.